Interface and core features
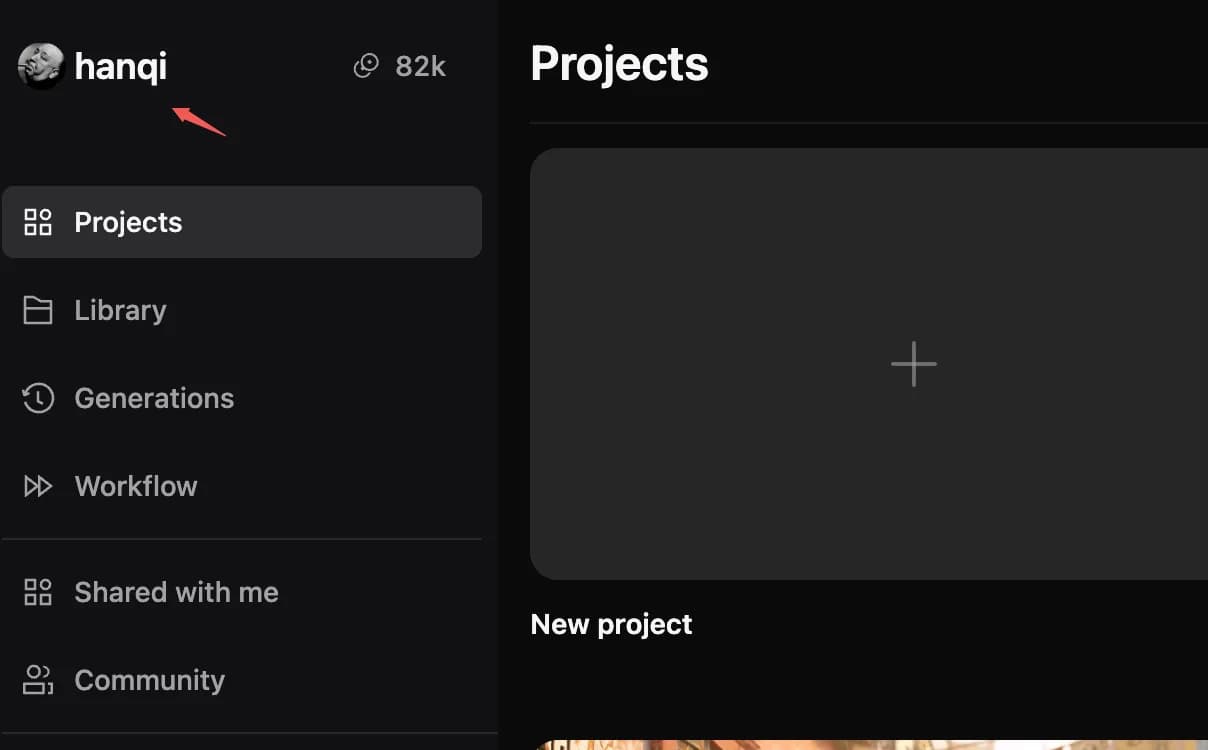
Create a project from the AZ8.art home page or the project list to enter the infinite canvas. Generated results, uploaded assets, and grouped nodes can be saved to the Asset Library. The account profile lives in the upper-left corner; credits are topped up from the Pricing entry on AZ8.art.
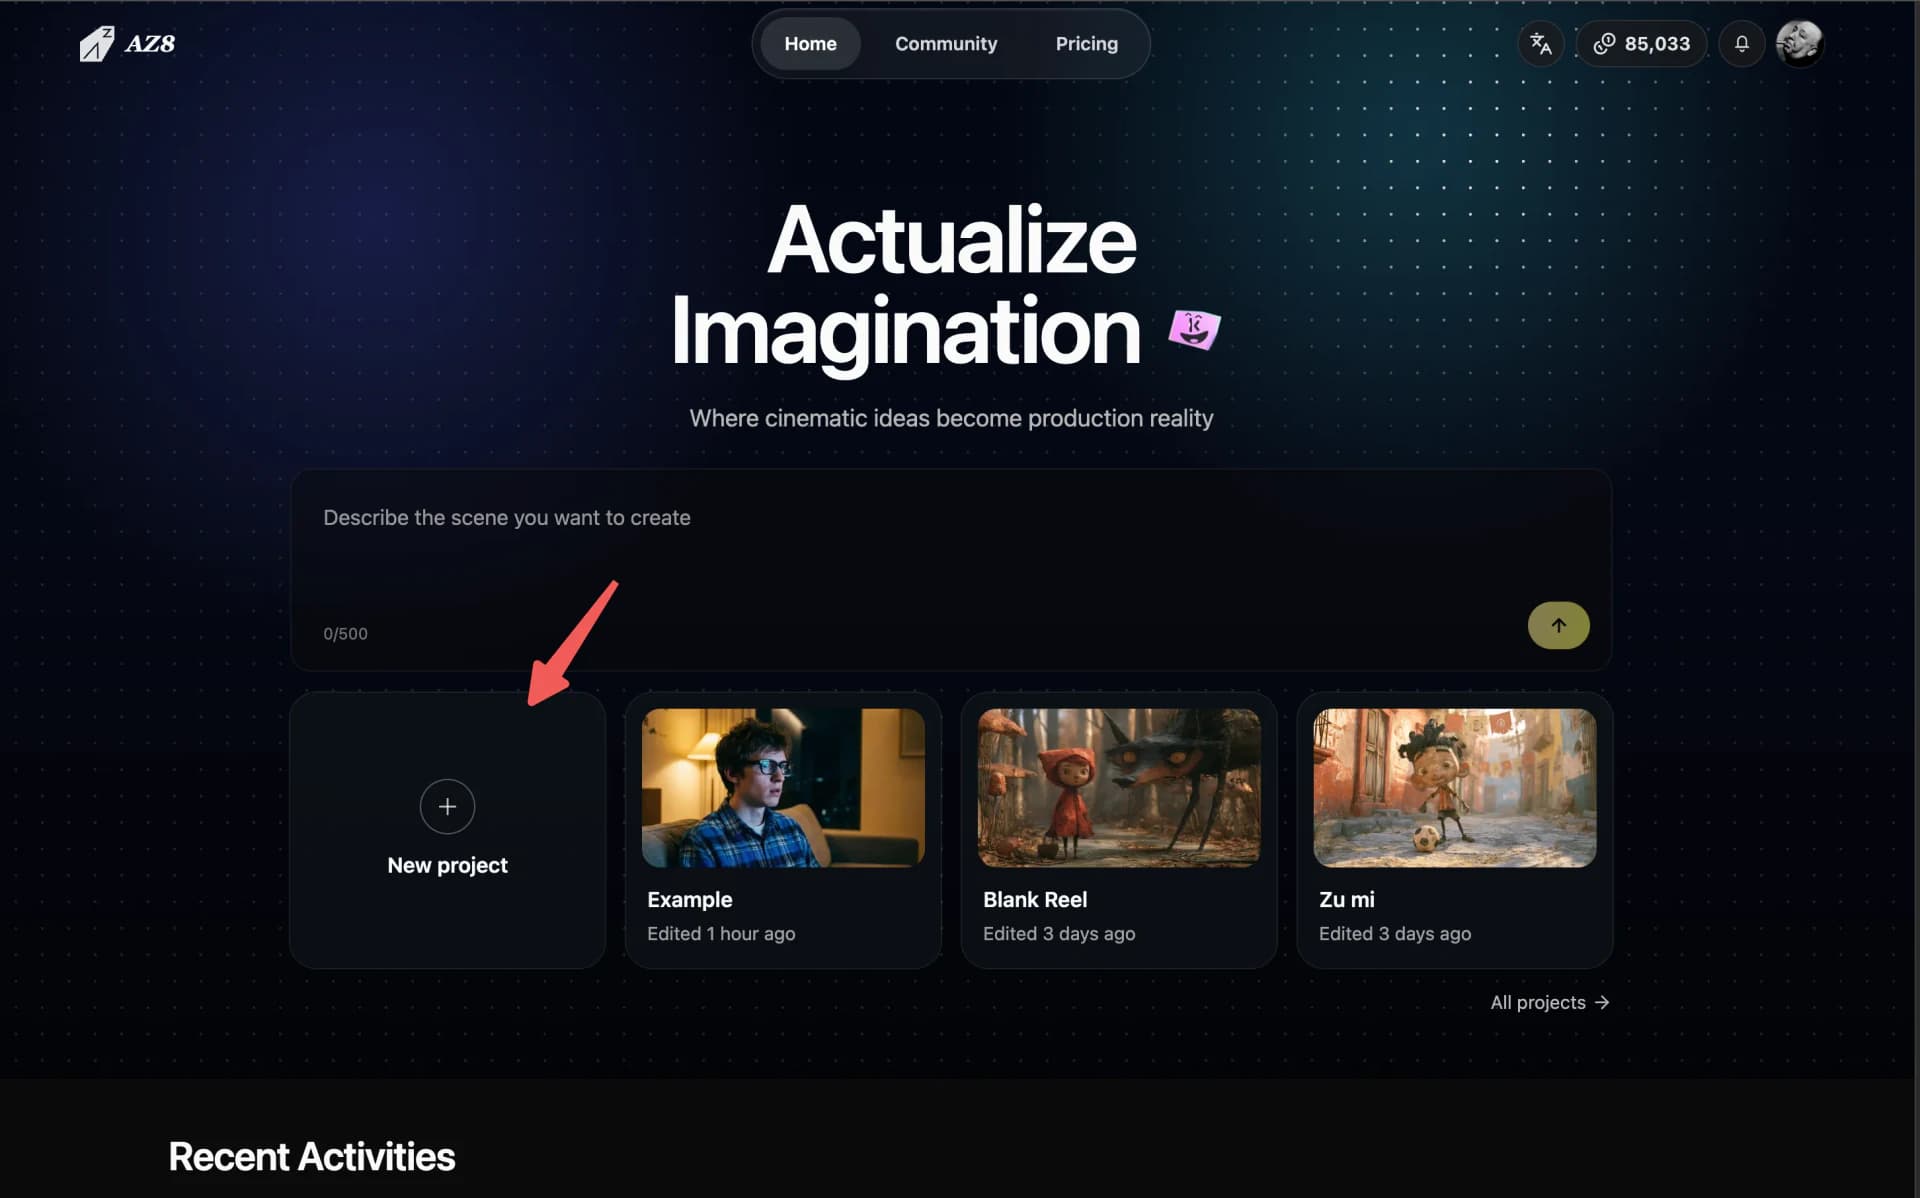
Create a project
- On the AZ8.art home page, click New Project in the center to enter the infinite canvas.
- Or click New Project in the upper-right of the project list to start instantly.
Asset management
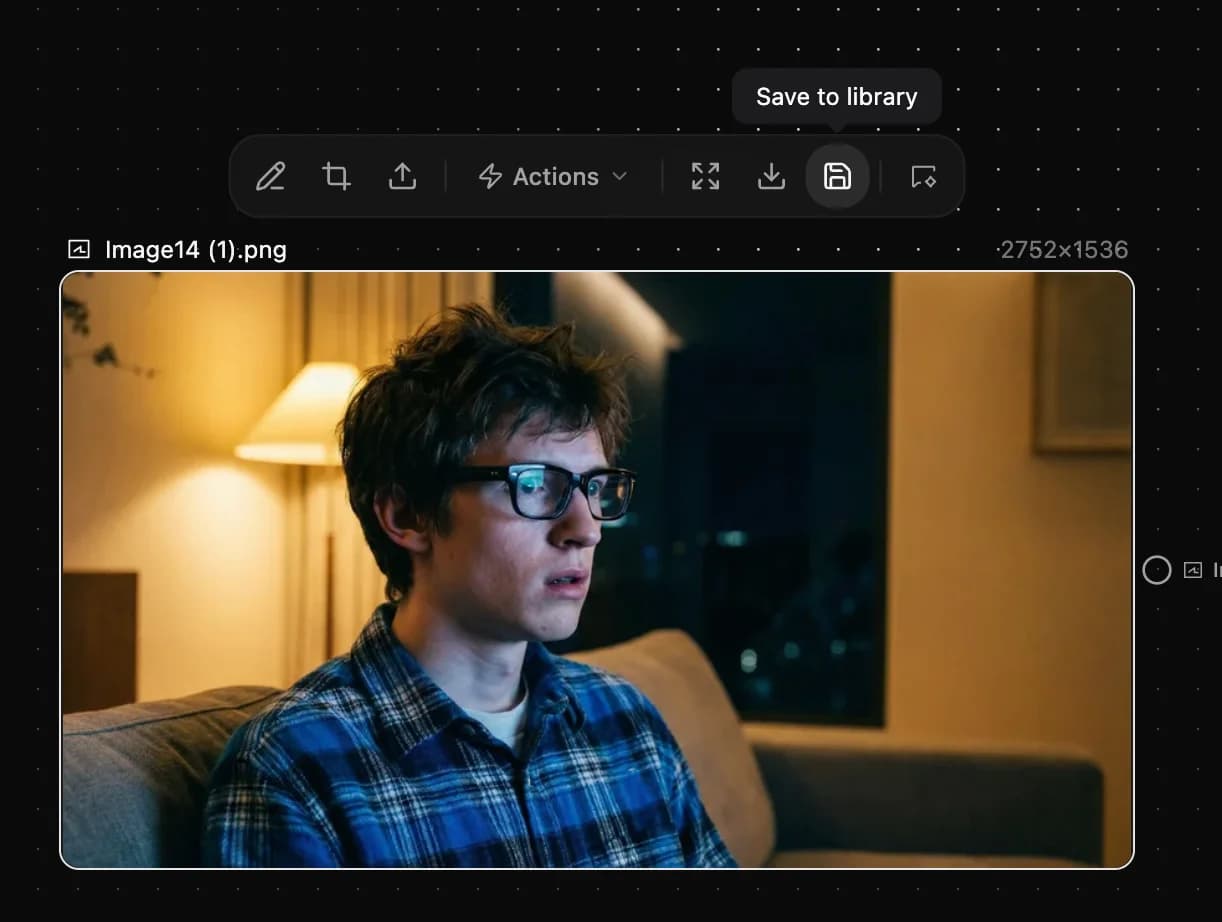
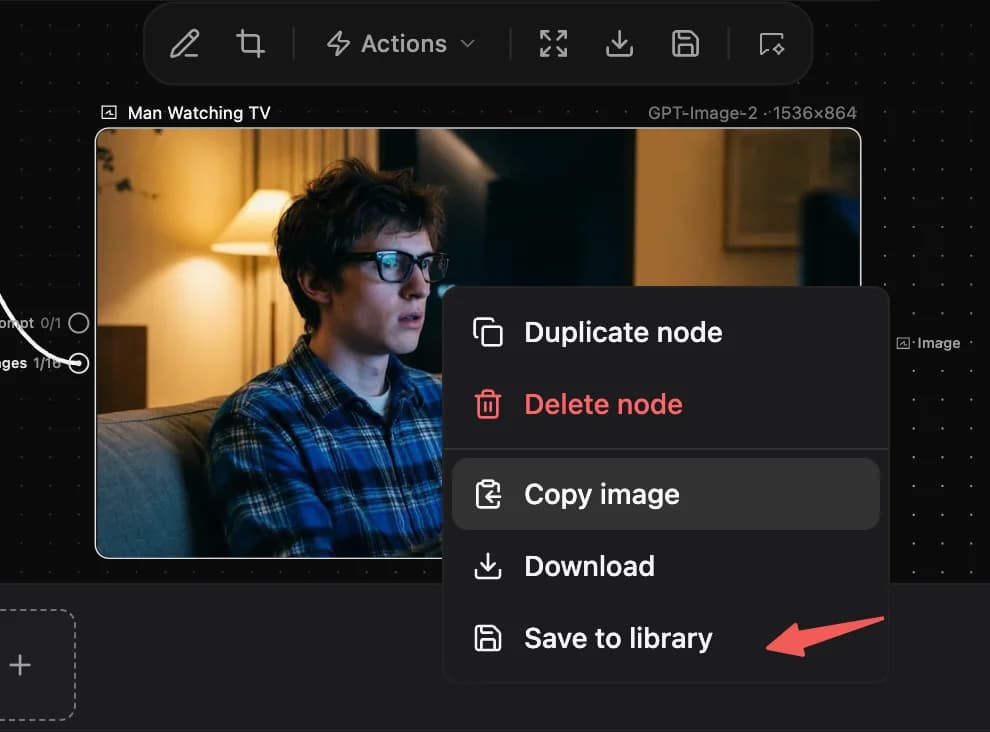
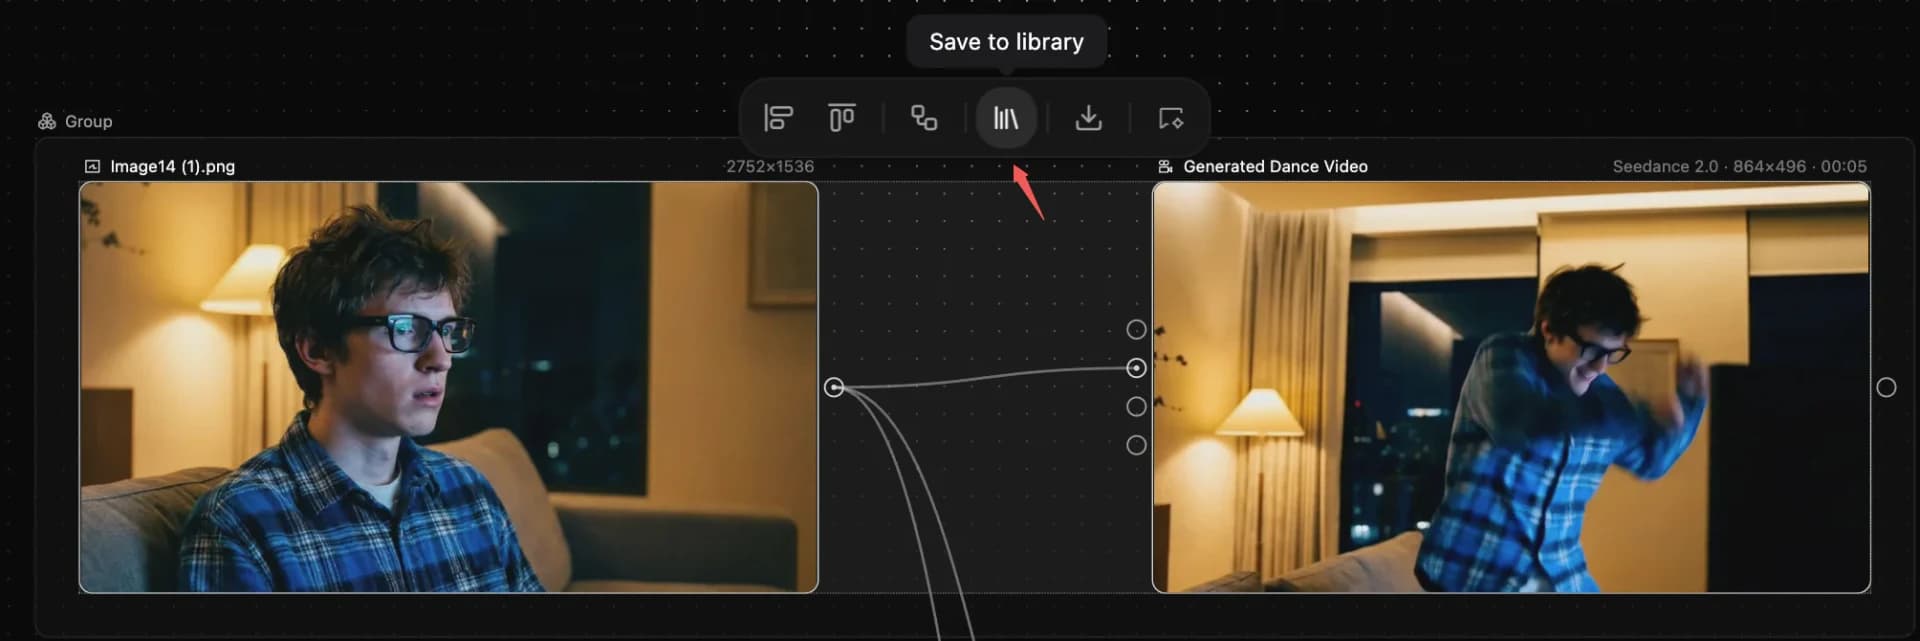
- Select any AI-generated result, then save it via the save button or the right-click menu.
- Save a single node, a selection of nodes, or a group — covering images, audio, video, and other modalities together.
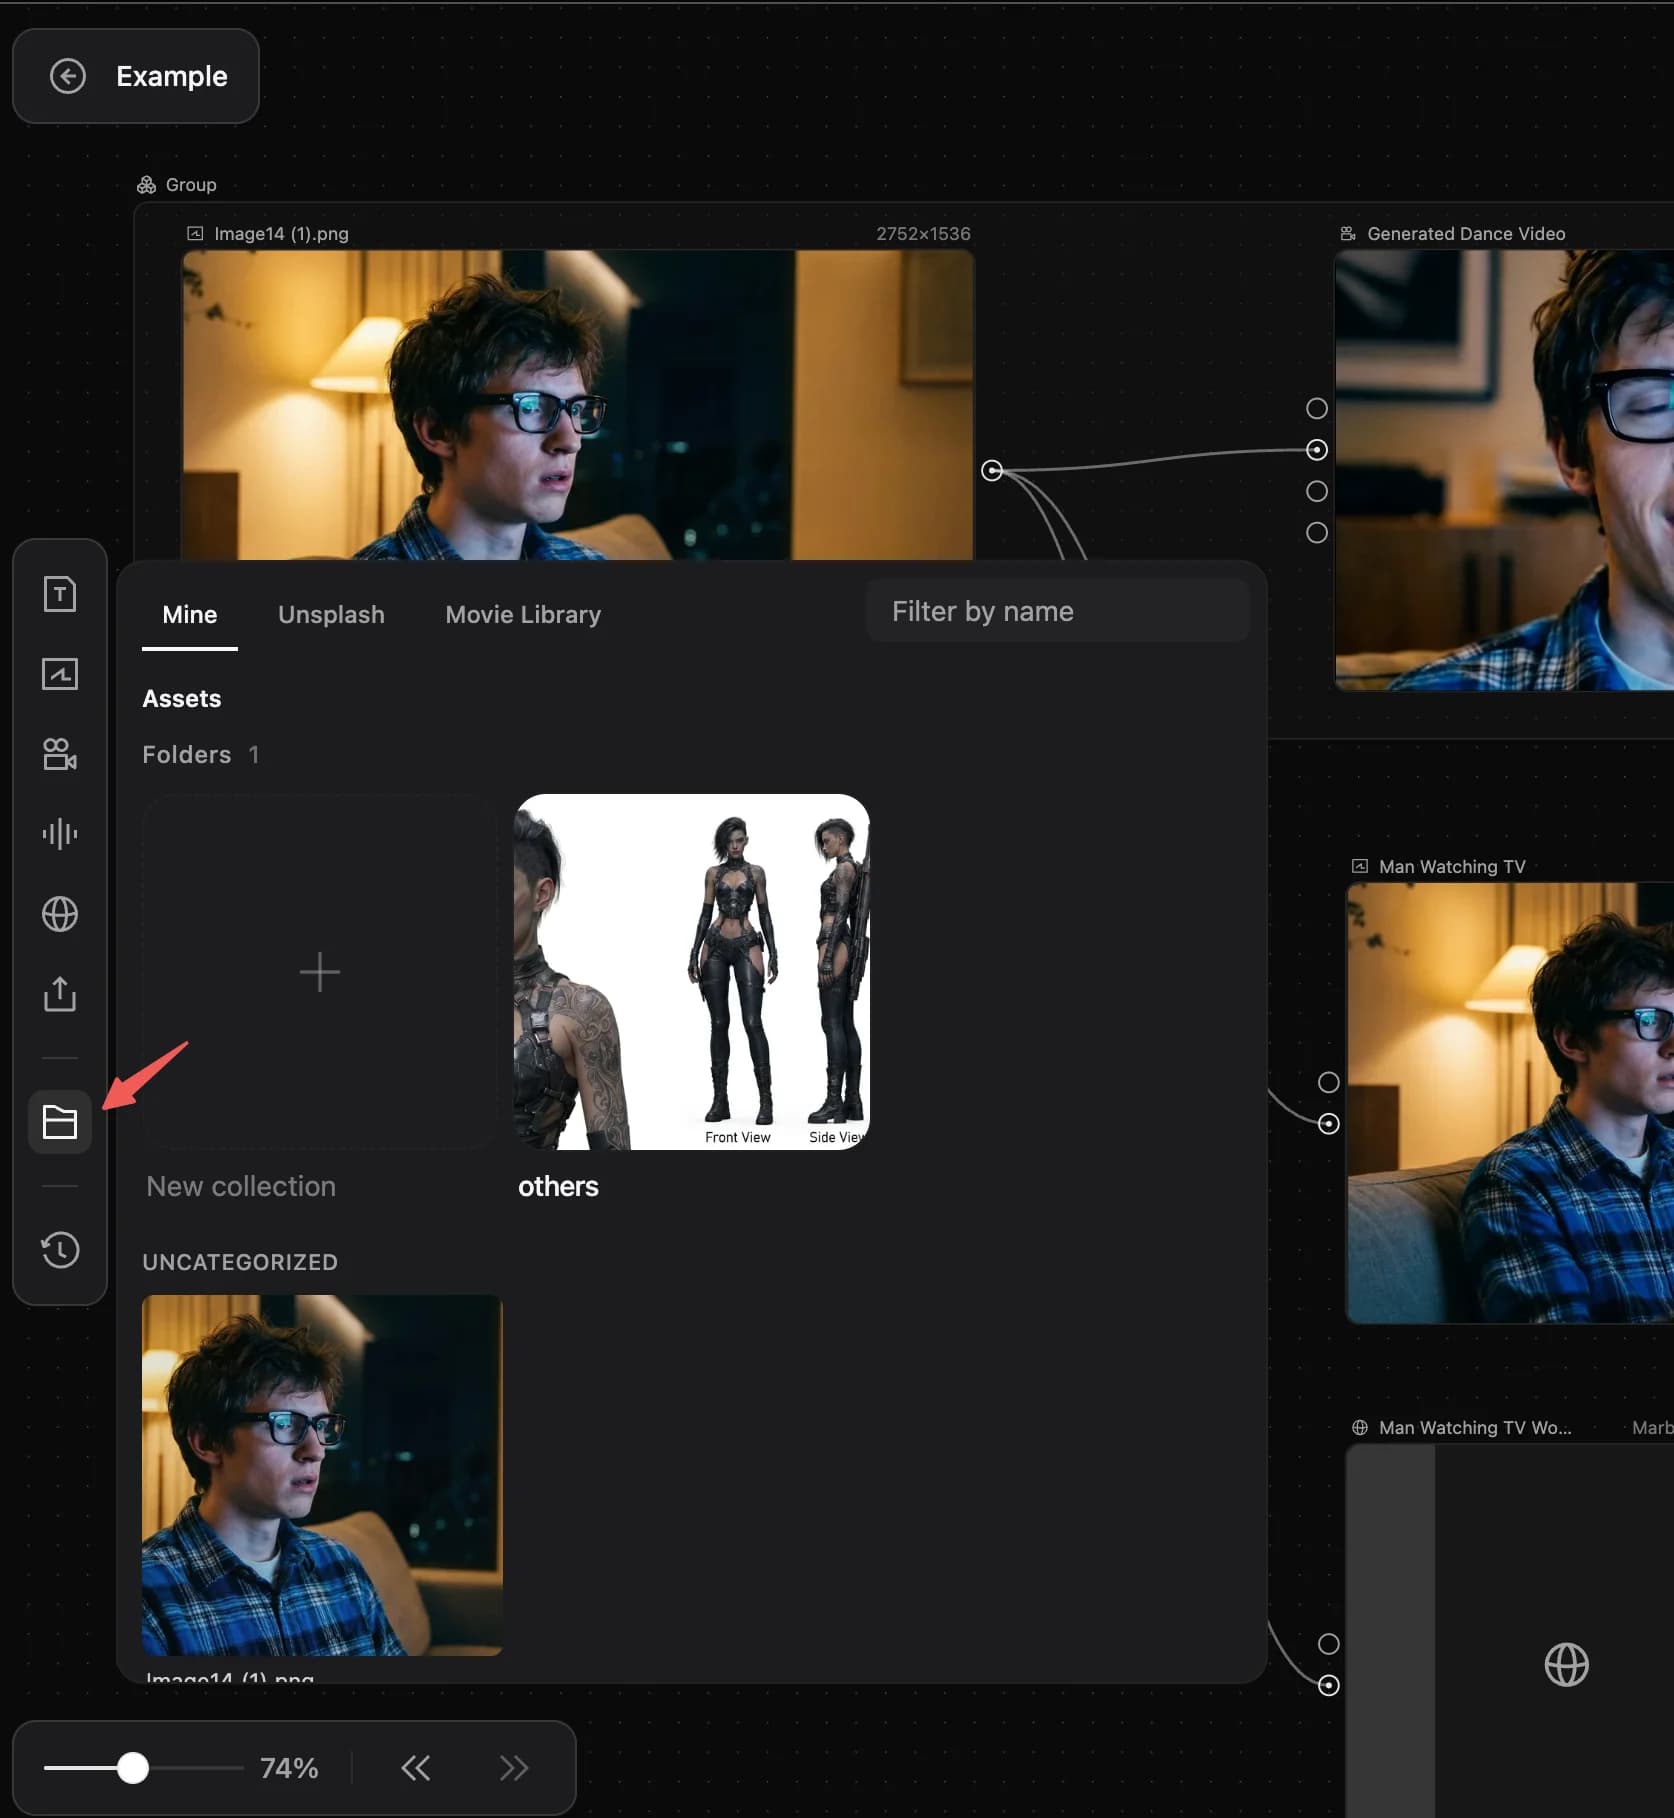
- Open the Asset Library in the sidebar to find every saved asset, then click or drag it back onto the canvas.
Account and credits
- View and edit your current account from the upper-left of the canvas.
- Open the Pricing entry at the top of AZ8.art to top up account credits.
New project entries
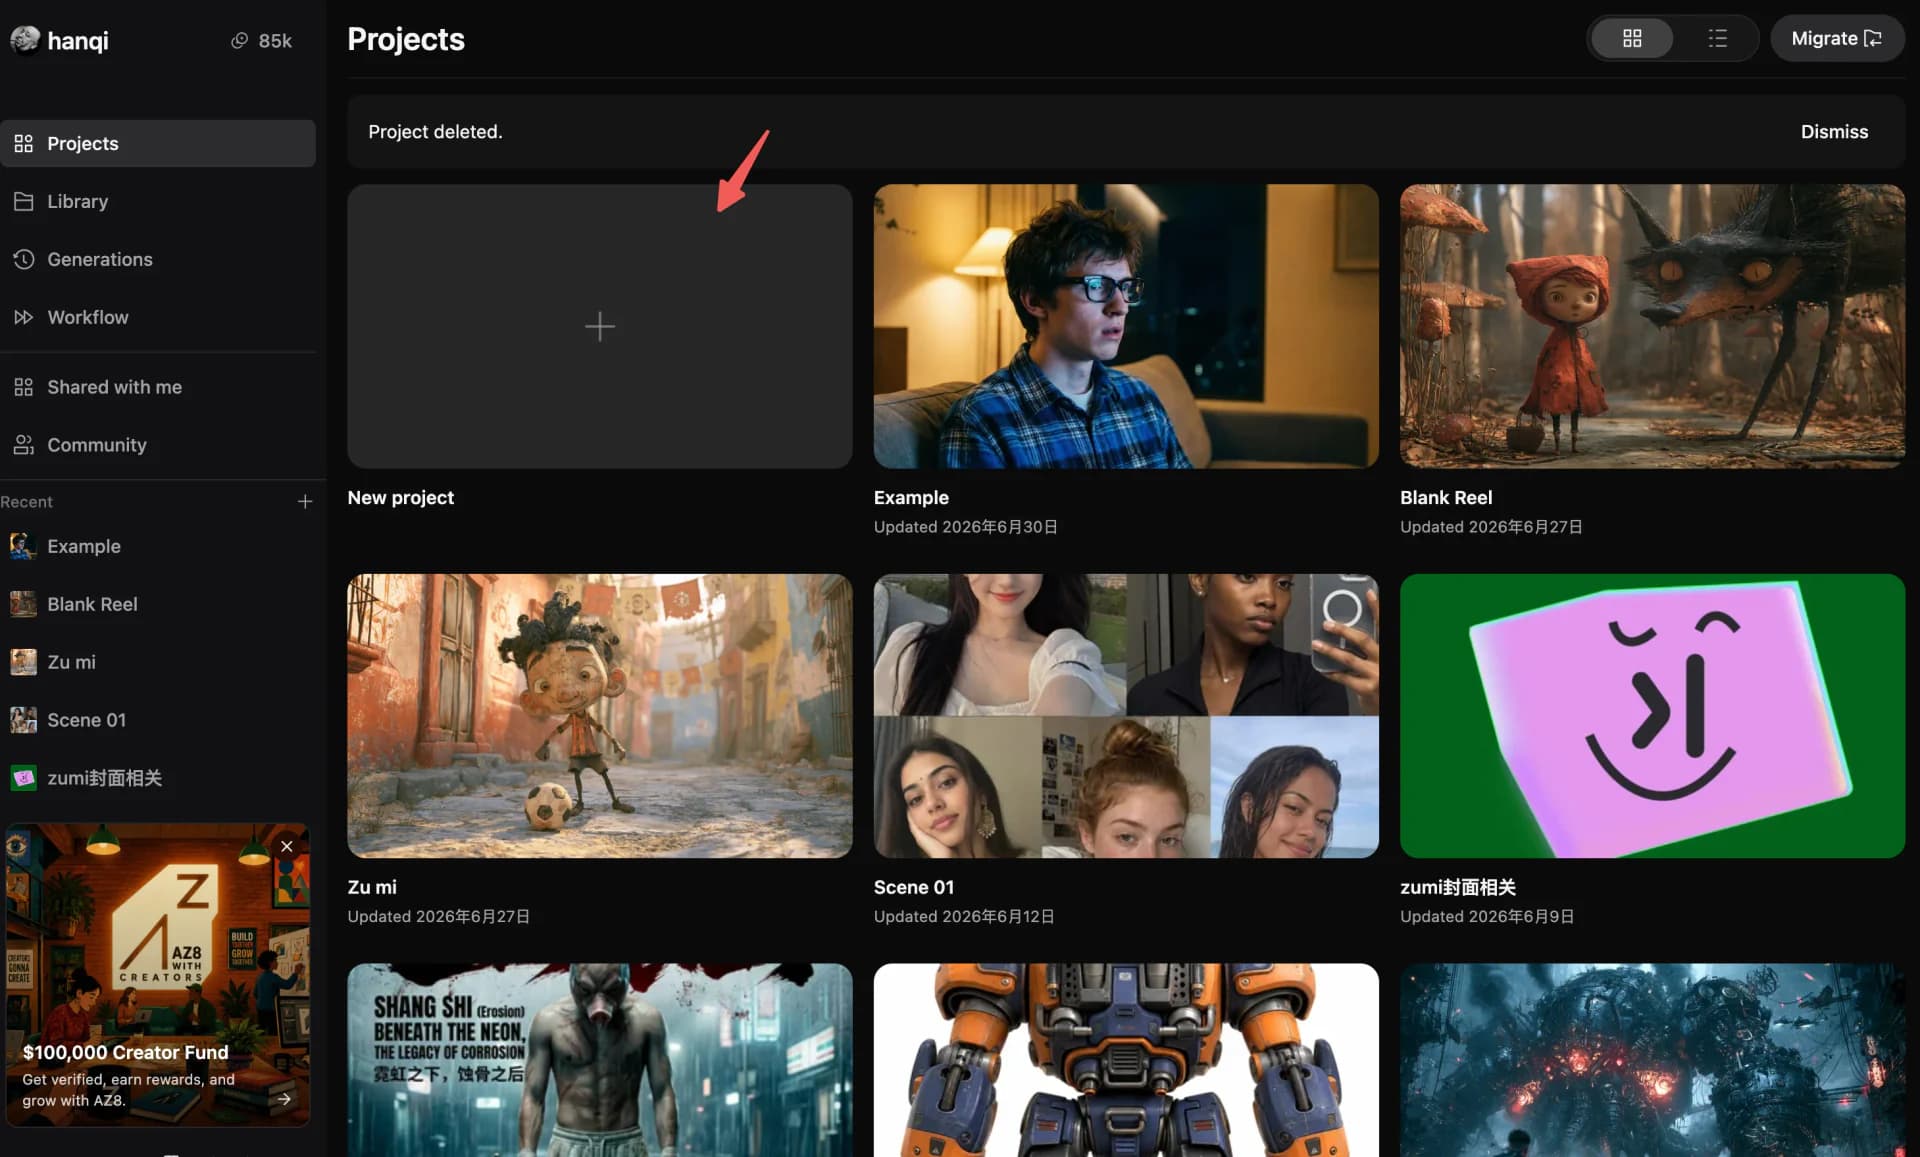
Save assets
Account and credits


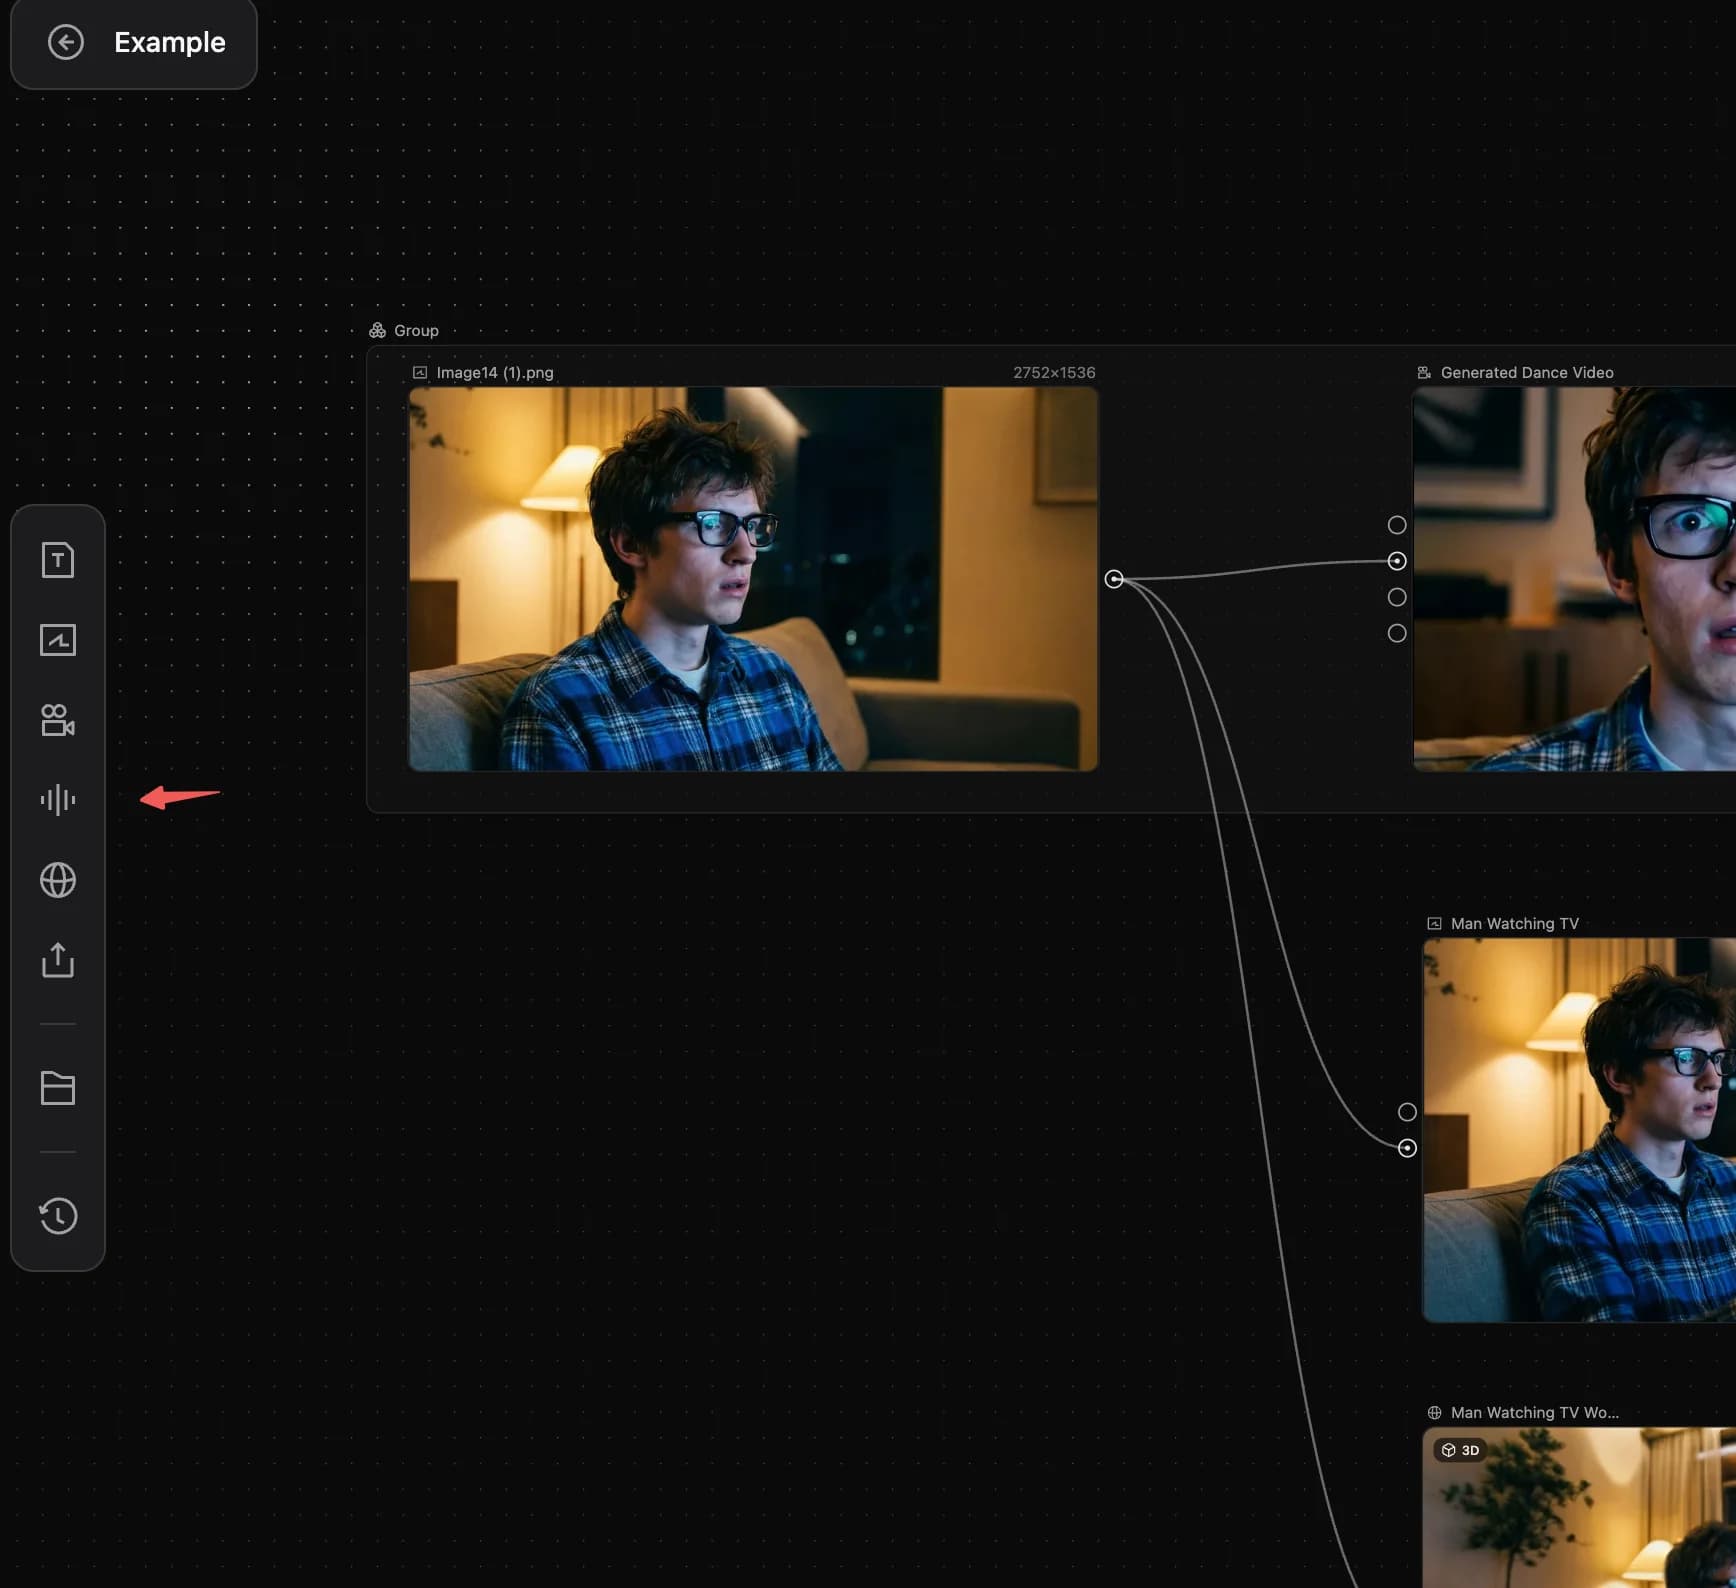
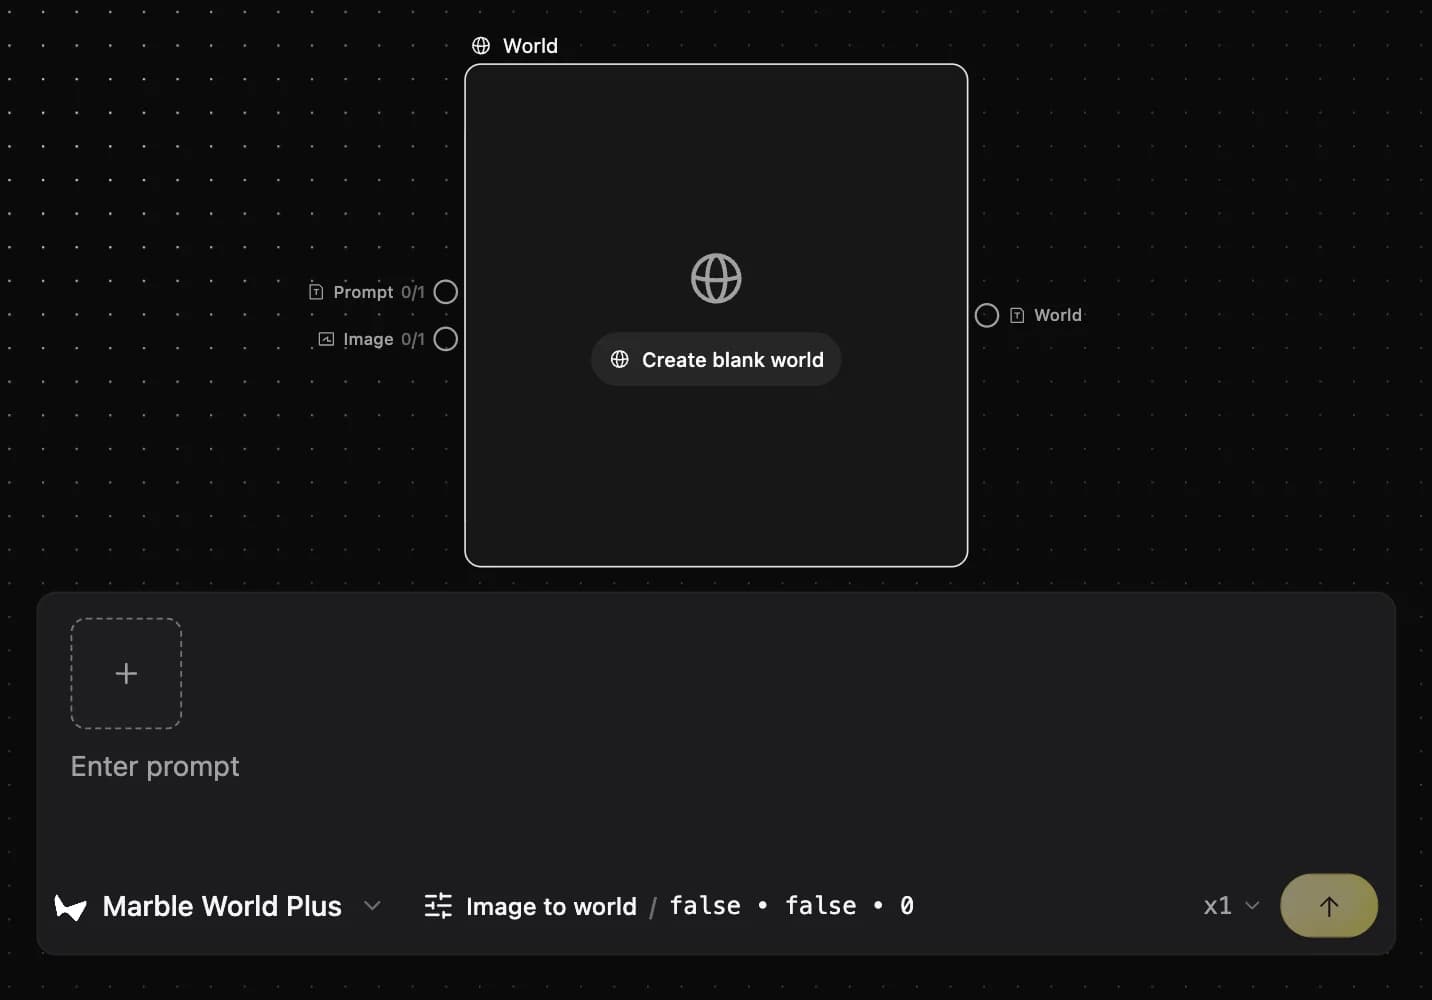
Infinite canvas and nodes
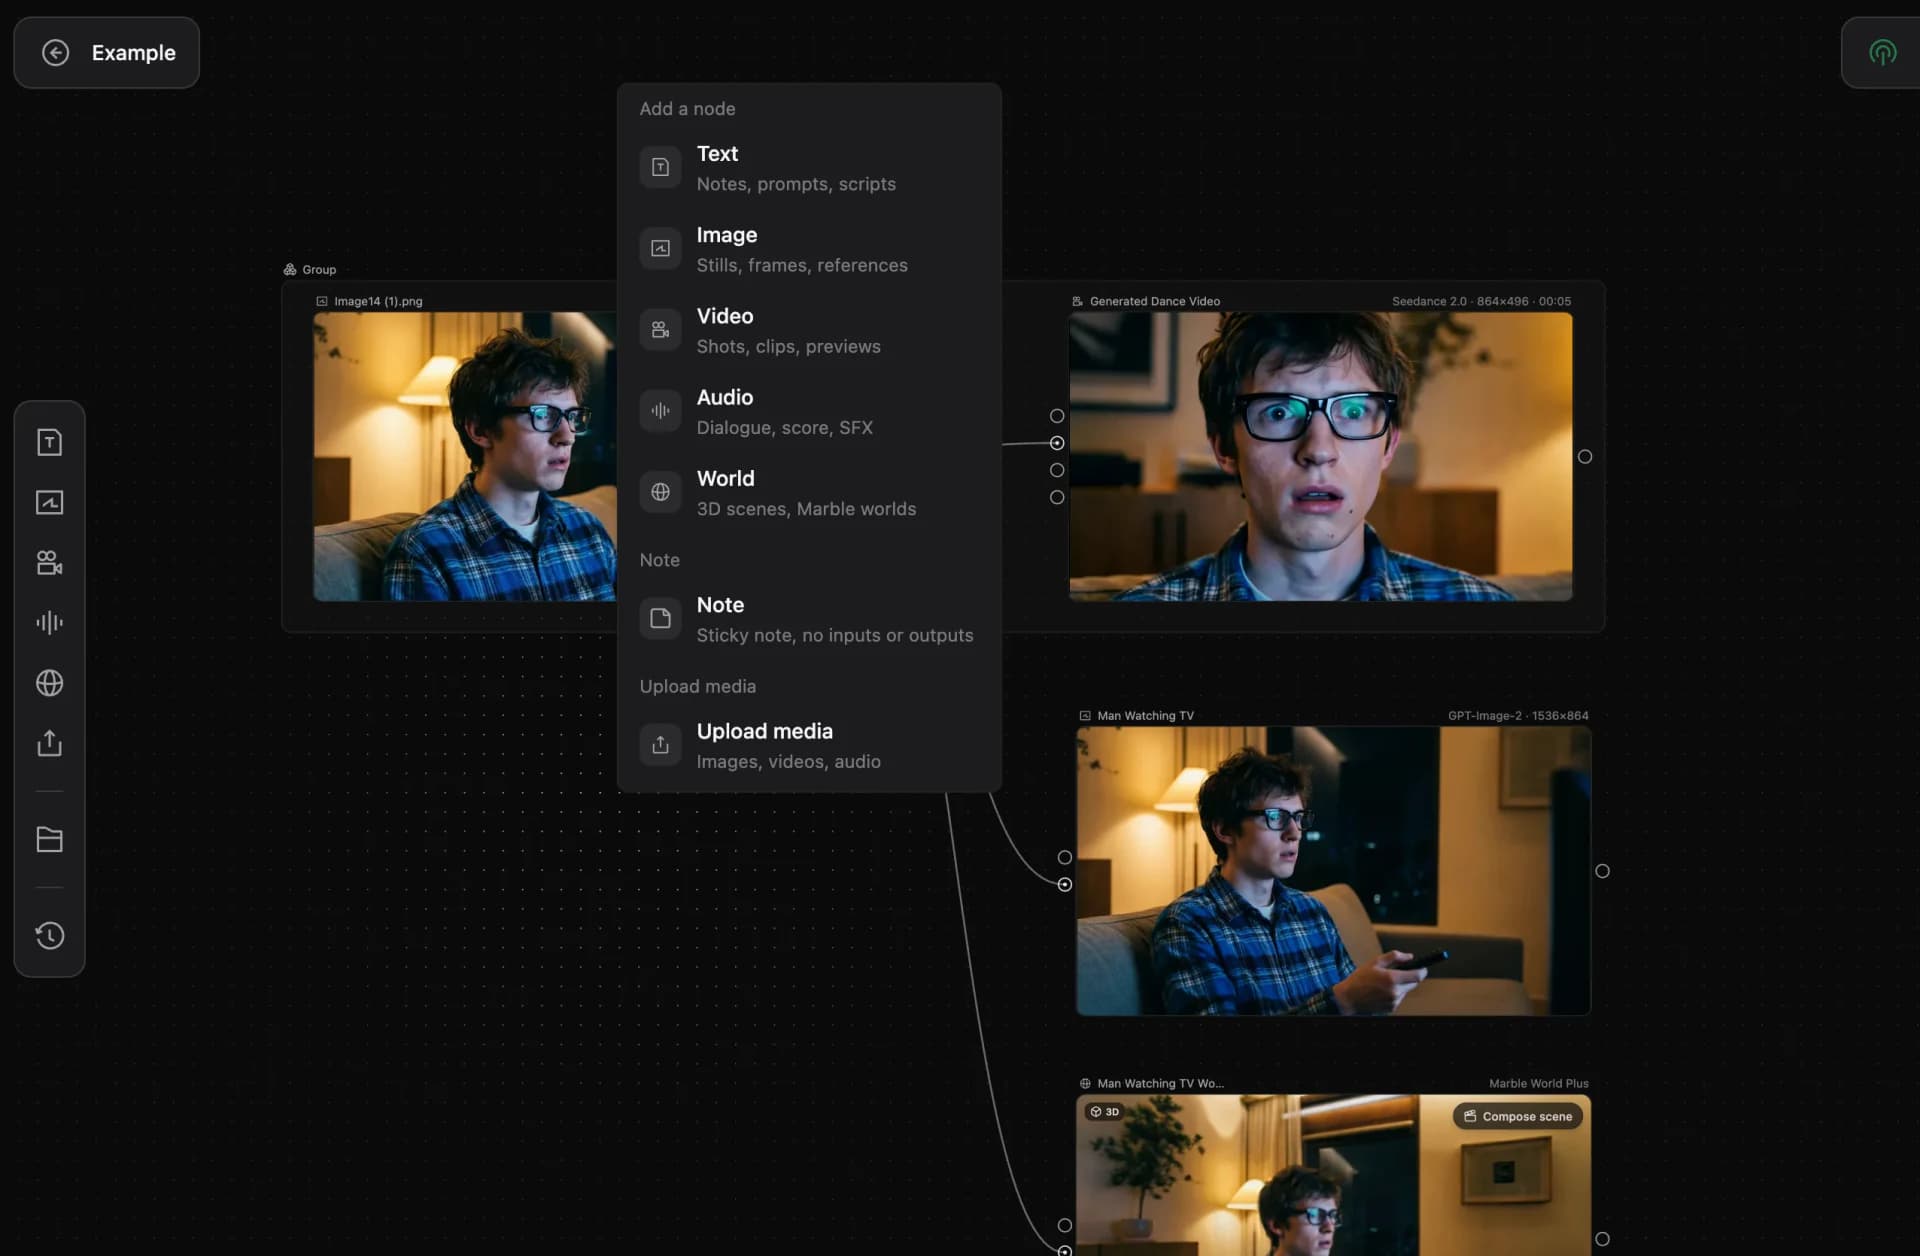
AZ8.Studio uses the infinite canvas by default. Text, image, video, audio, sticky-note, and 3D scene nodes support generate / upload, edit, delete, reuse, and links into workflows. Each node's input box lets you switch models for different results; right-click on the canvas to spawn a node.
Ways to create nodes
- Click the corresponding node button in the sidebar.
- Right-click on the canvas and choose a node from the menu.
- Switch models inside the node input box to try different outputs for the same prompt.
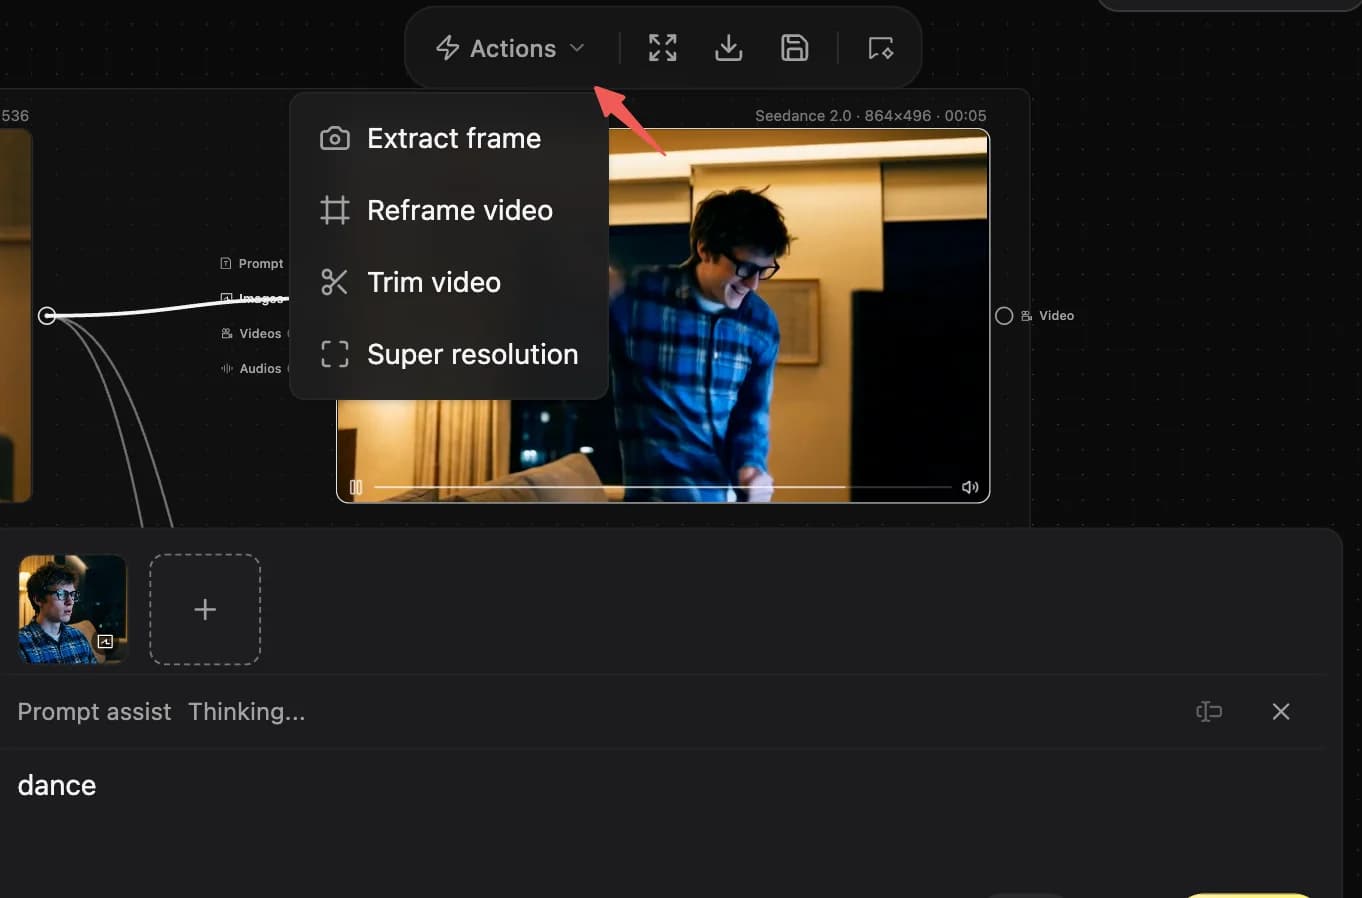
Supported actions per node type
| Node type | Supported actions |
|---|---|
| Text | Copy, delete |
| Image | Copy, delete, copy image, download, save to Asset Library |
| Video | Copy, delete, download, save to Asset Library |
| Music | Copy, delete |
| 3D World | Copy, delete, preview 3D |
Models and key actions per node
| Node | Models | Key actions |
|---|---|---|
| Text | Gemini 3 Pro, GPT-5 | Accepts image / video / audio / document inputs and generates scripts, prompt reverse-engineering, lyrics, character bios, style descriptions and more. |
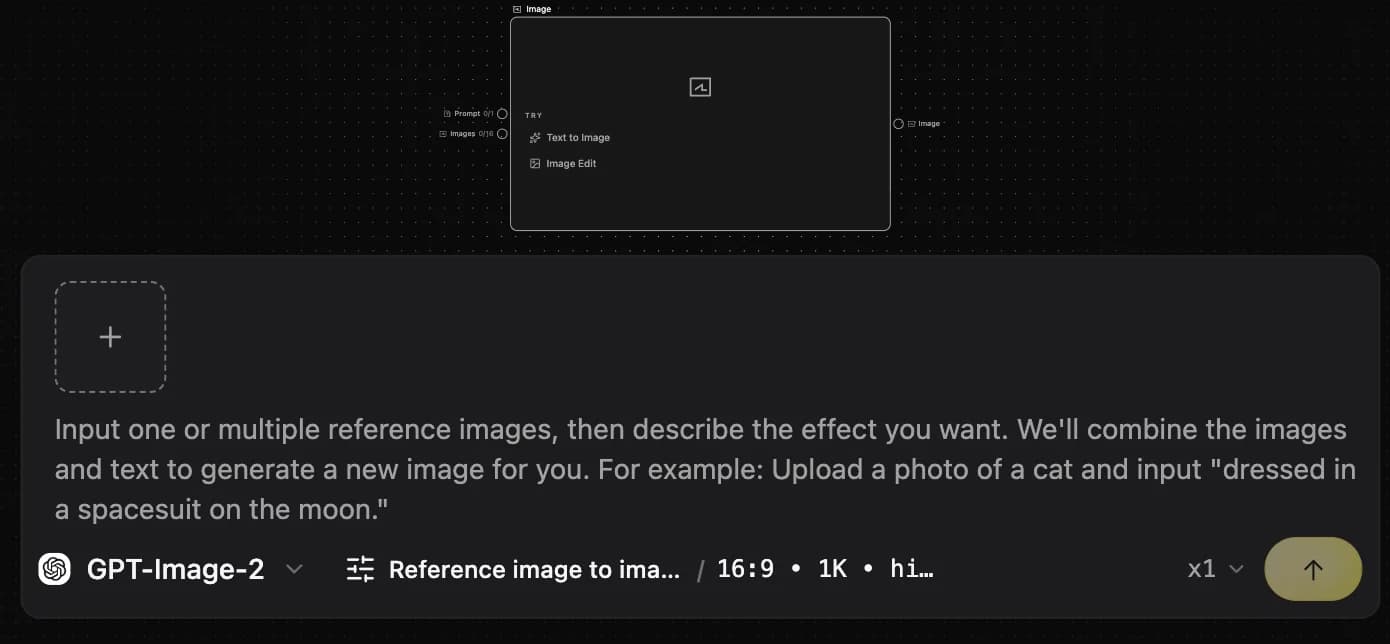
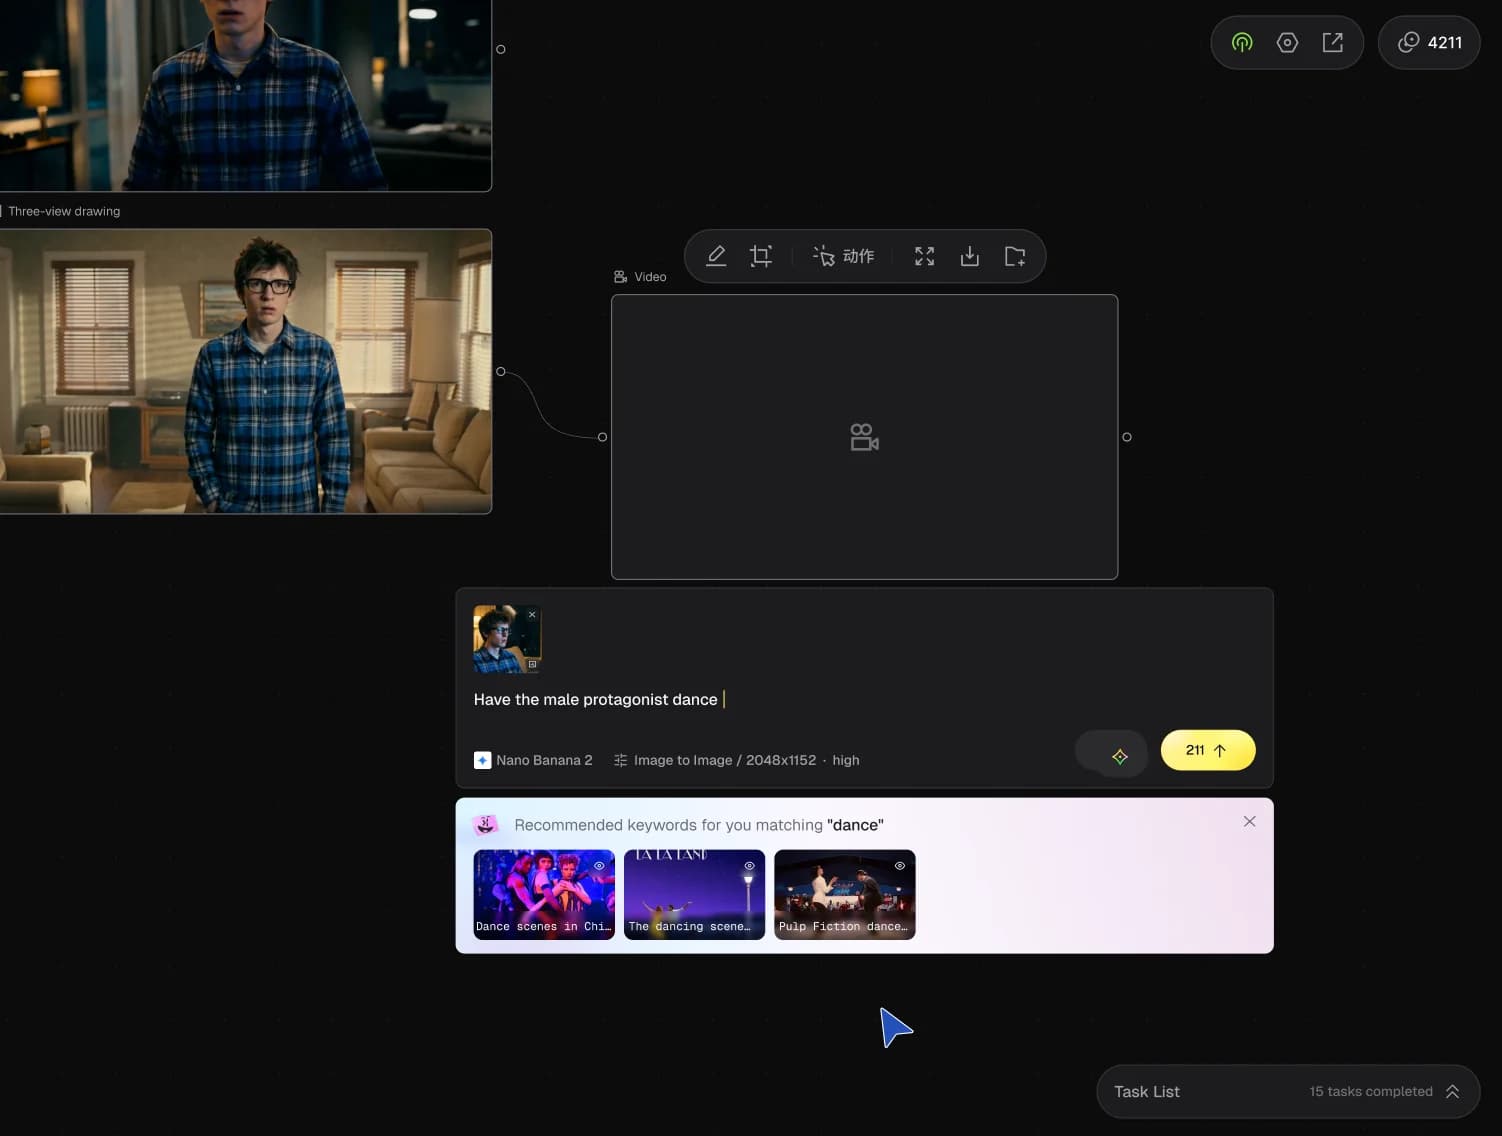
| Image | Nano Banana 2, Seedream 5.0 Lite, GPT-image-2 | Text-to-image and image-to-image; inpainting, multi-view, angle tweaks, 25-cell storyboards and more. |
| Video | Seedance 2.0 Fast / 2.0, Sora 2, Kling 3.0 Pro / O3 Pro, Wan 2.6 | Text/image/keyframe/multimodal references; video super-resolution (1080p / 2K) and keyframe extraction. |
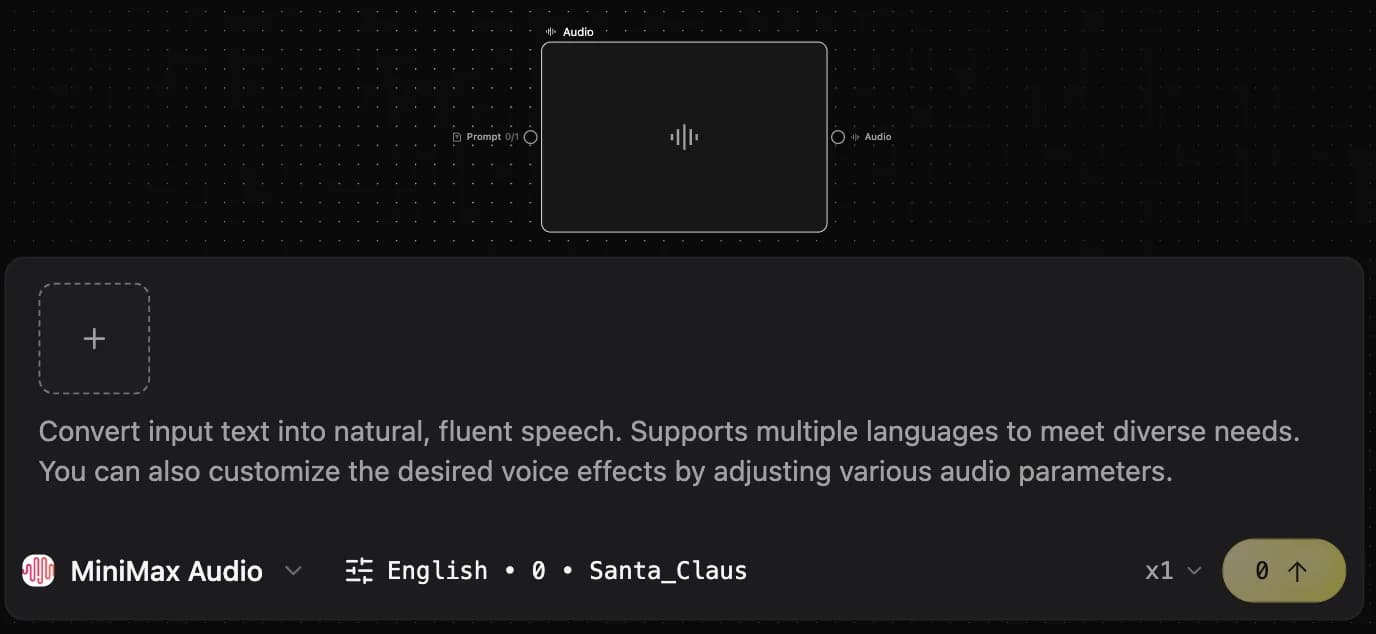
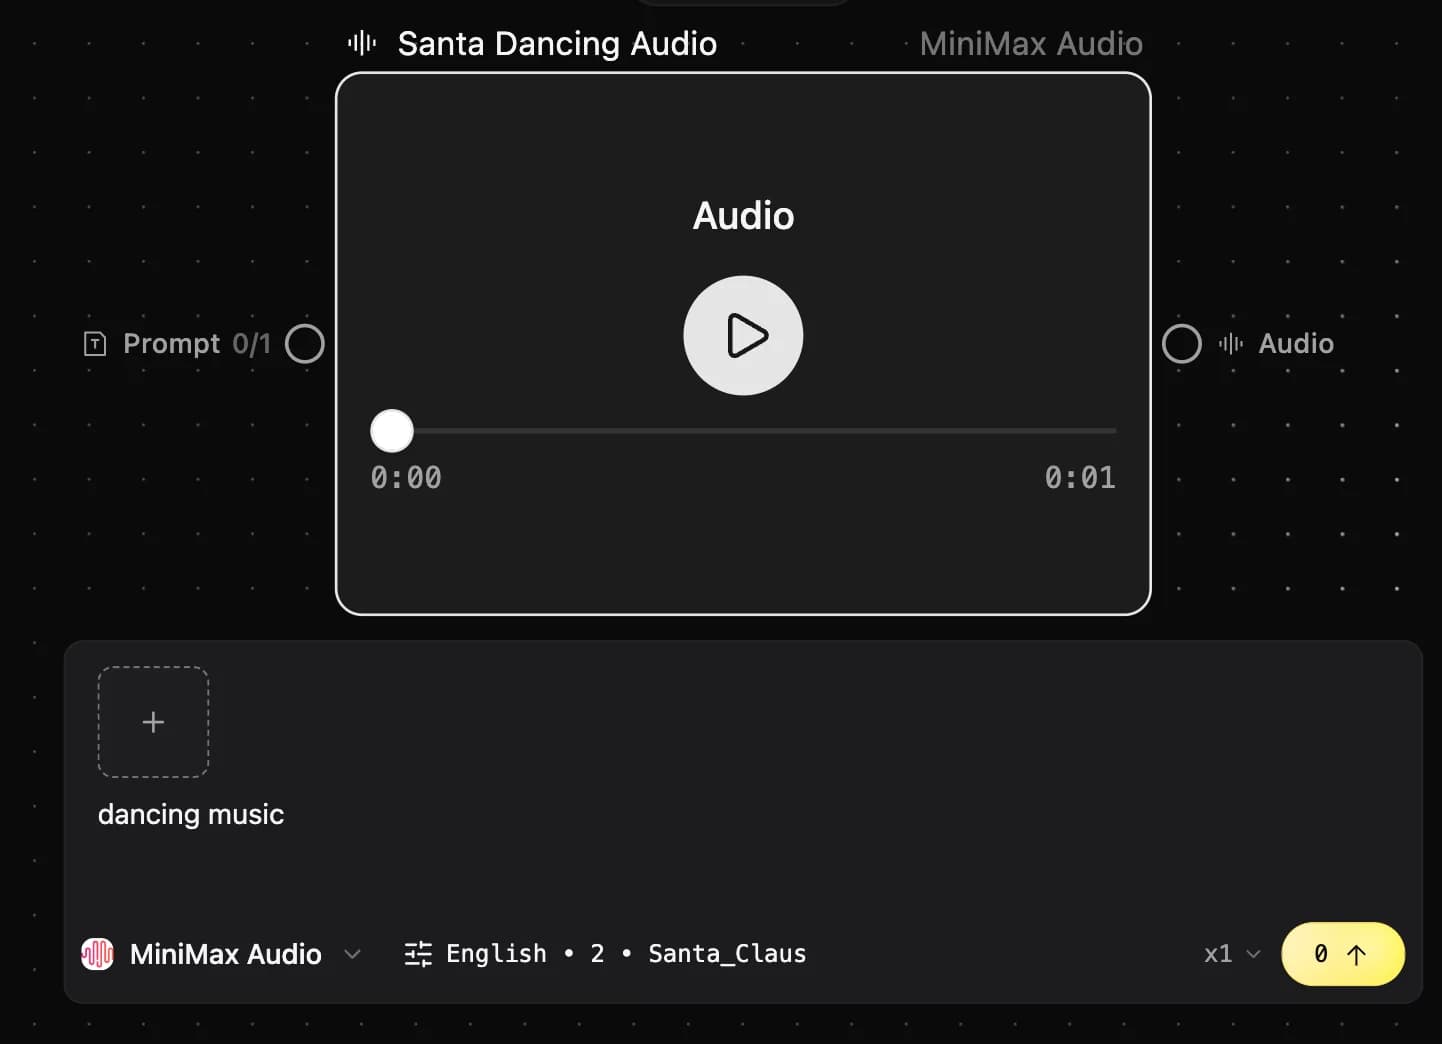
| Audio | Suno V5, MiniMax Audio, MiniMax Music | Music, ambient backing tracks, text-to-speech, voice-over generation. |
| 3D World | MarbleWorld | Generate world models from text or a reference image; lock spatial consistency and feed as a camera reference. |
Canvas basics
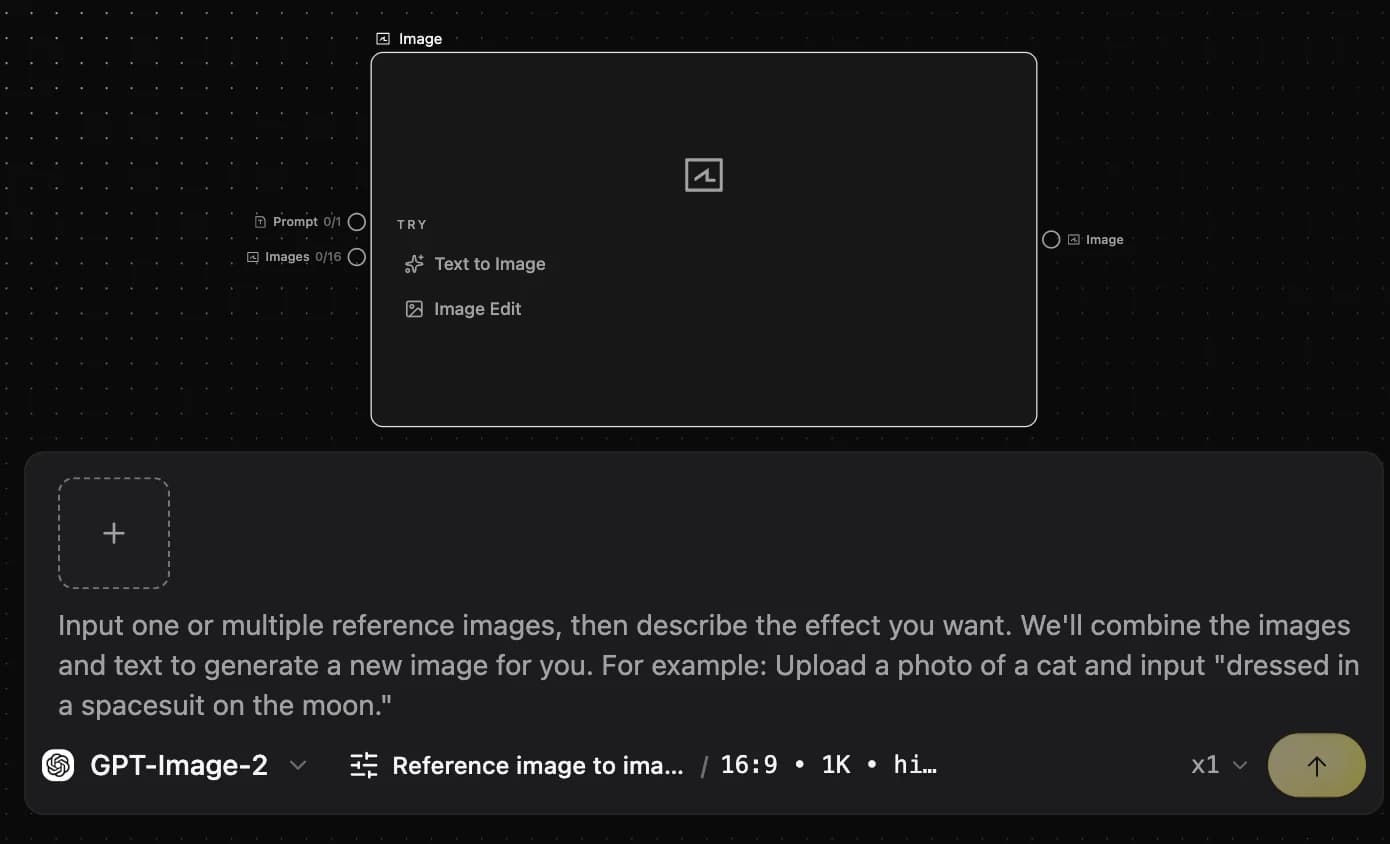
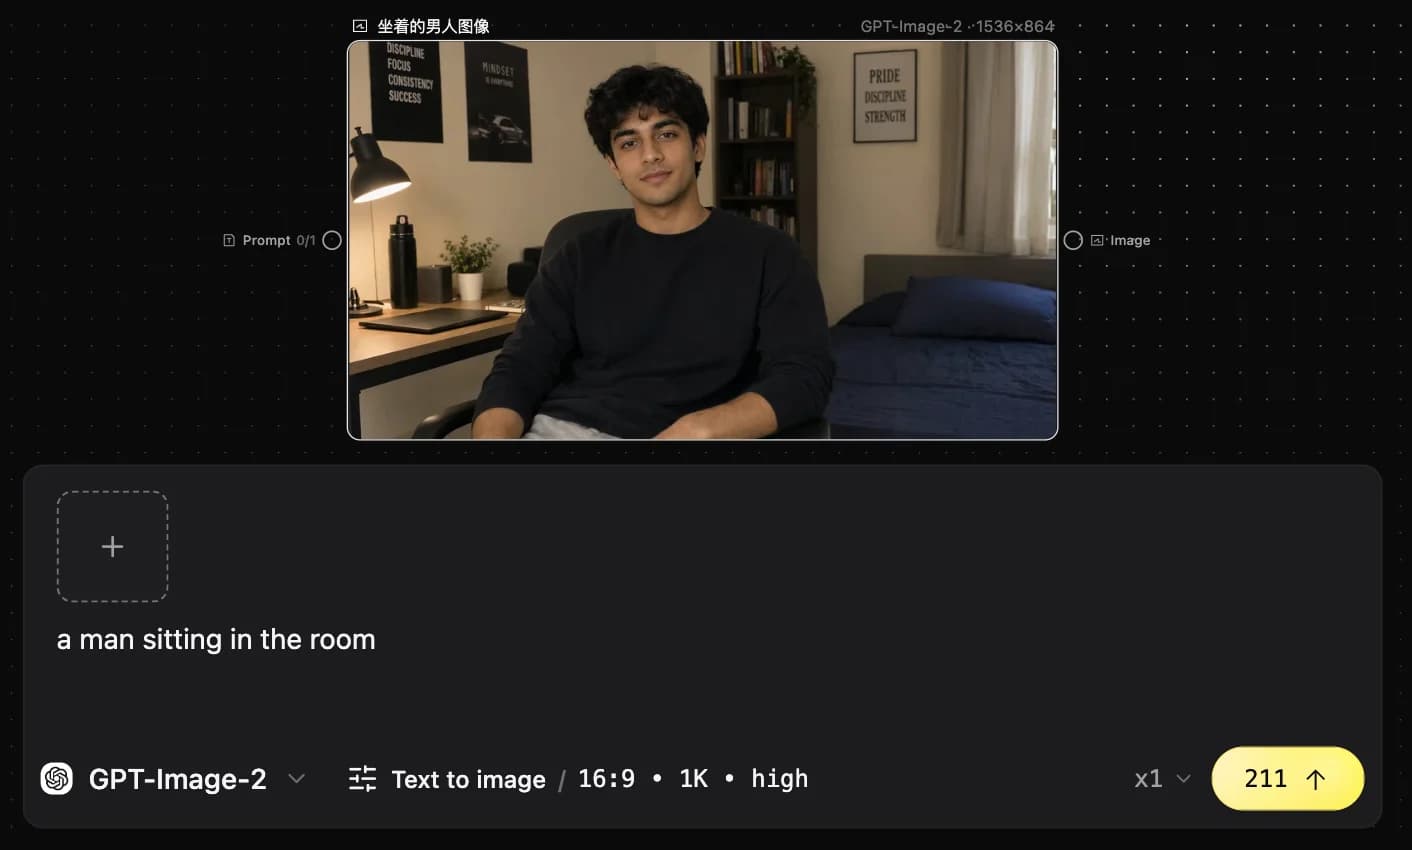
Text node
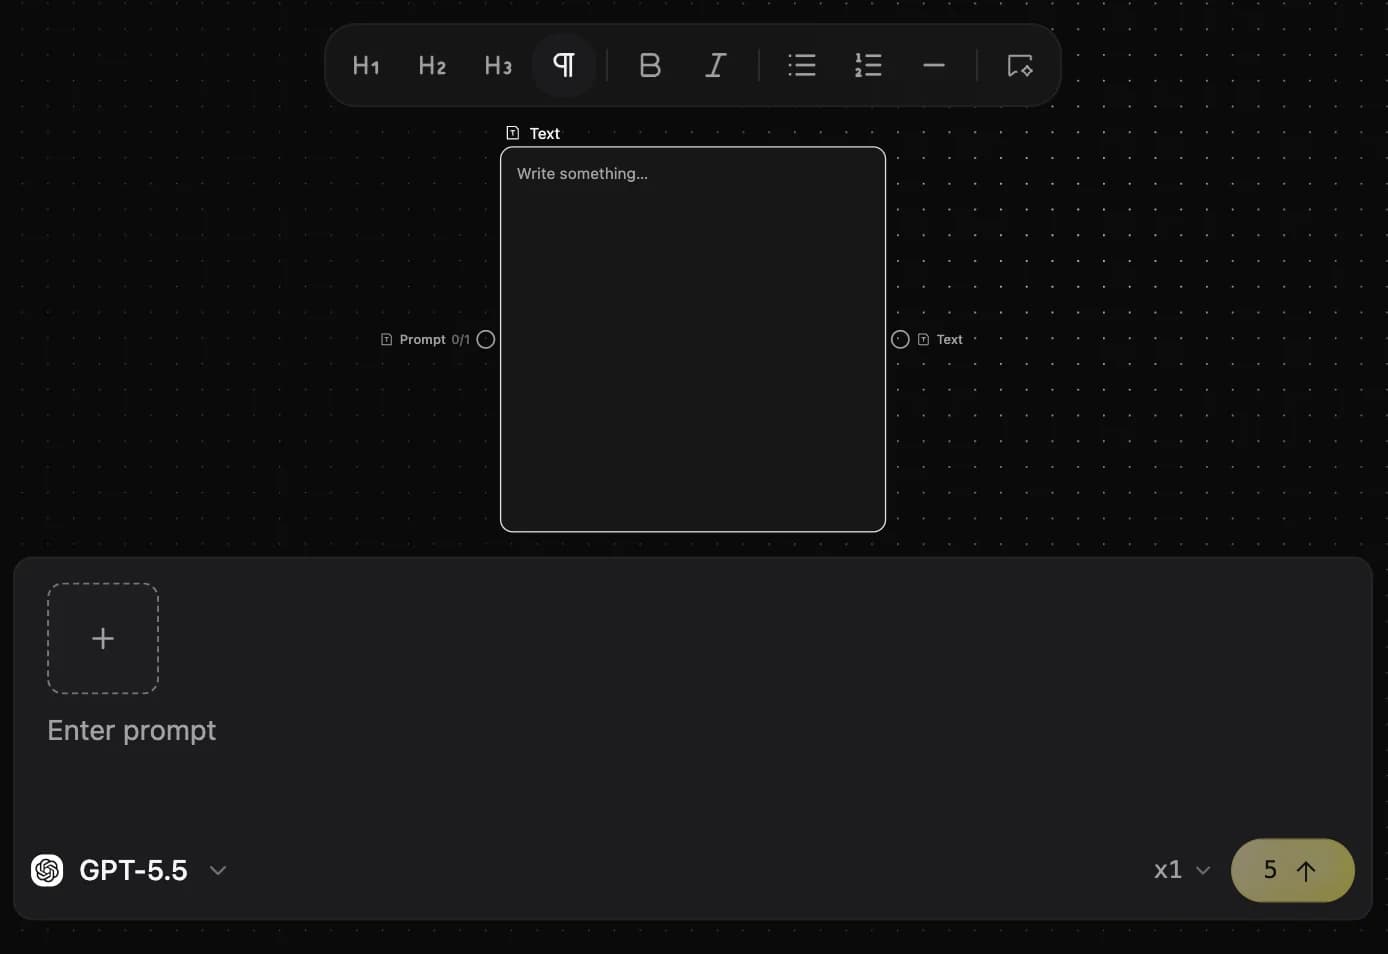
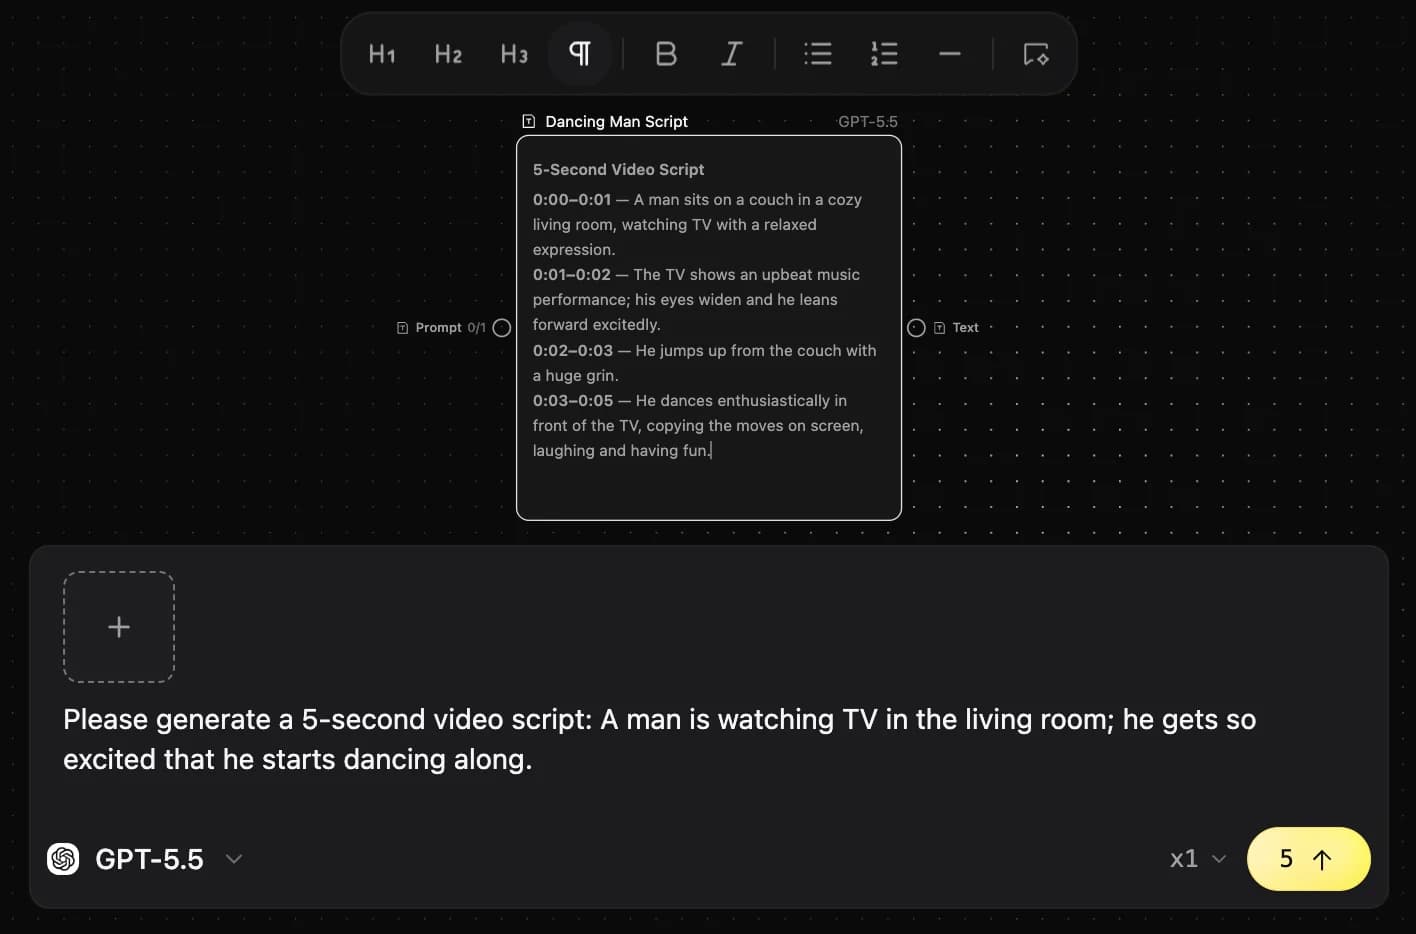
Image node

Video node
Audio node
3D world node

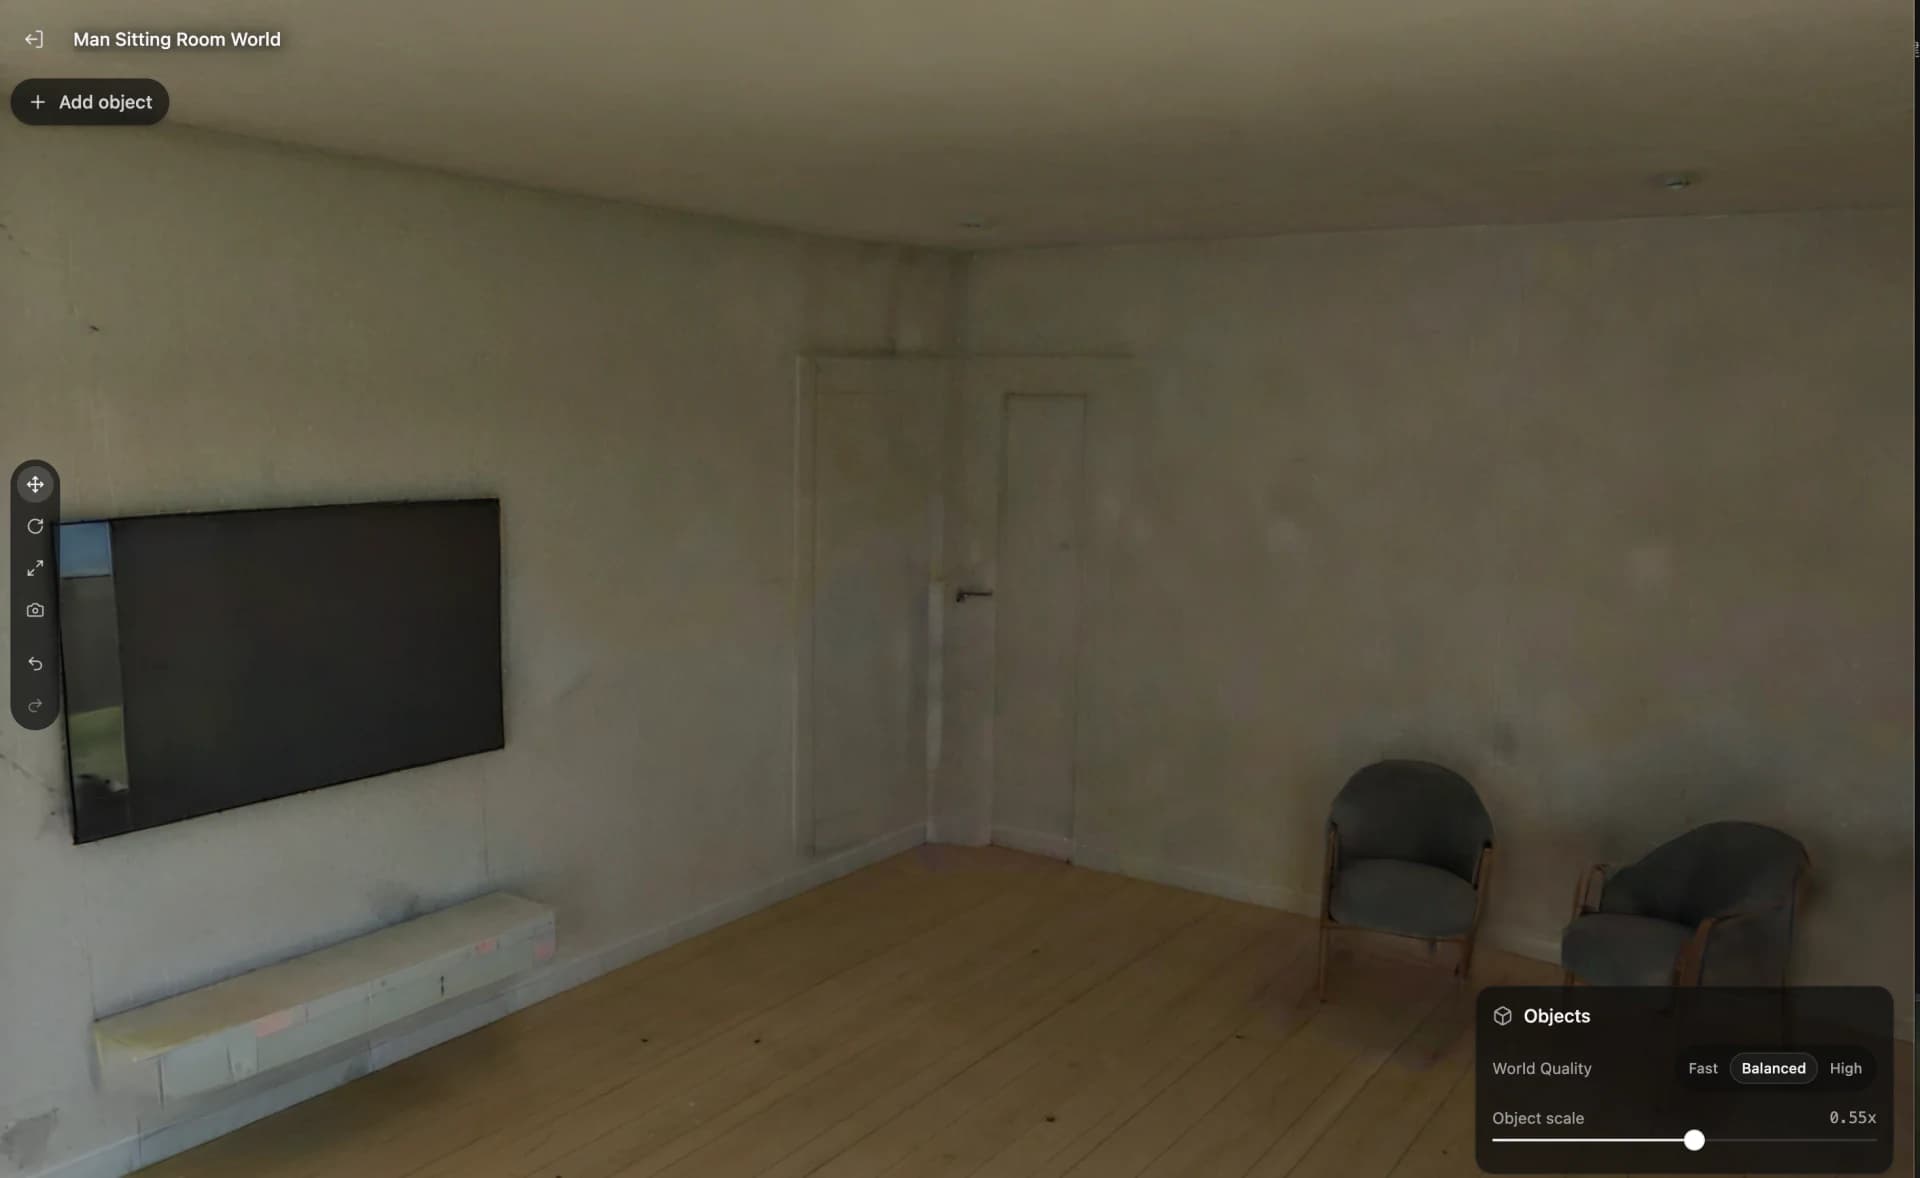
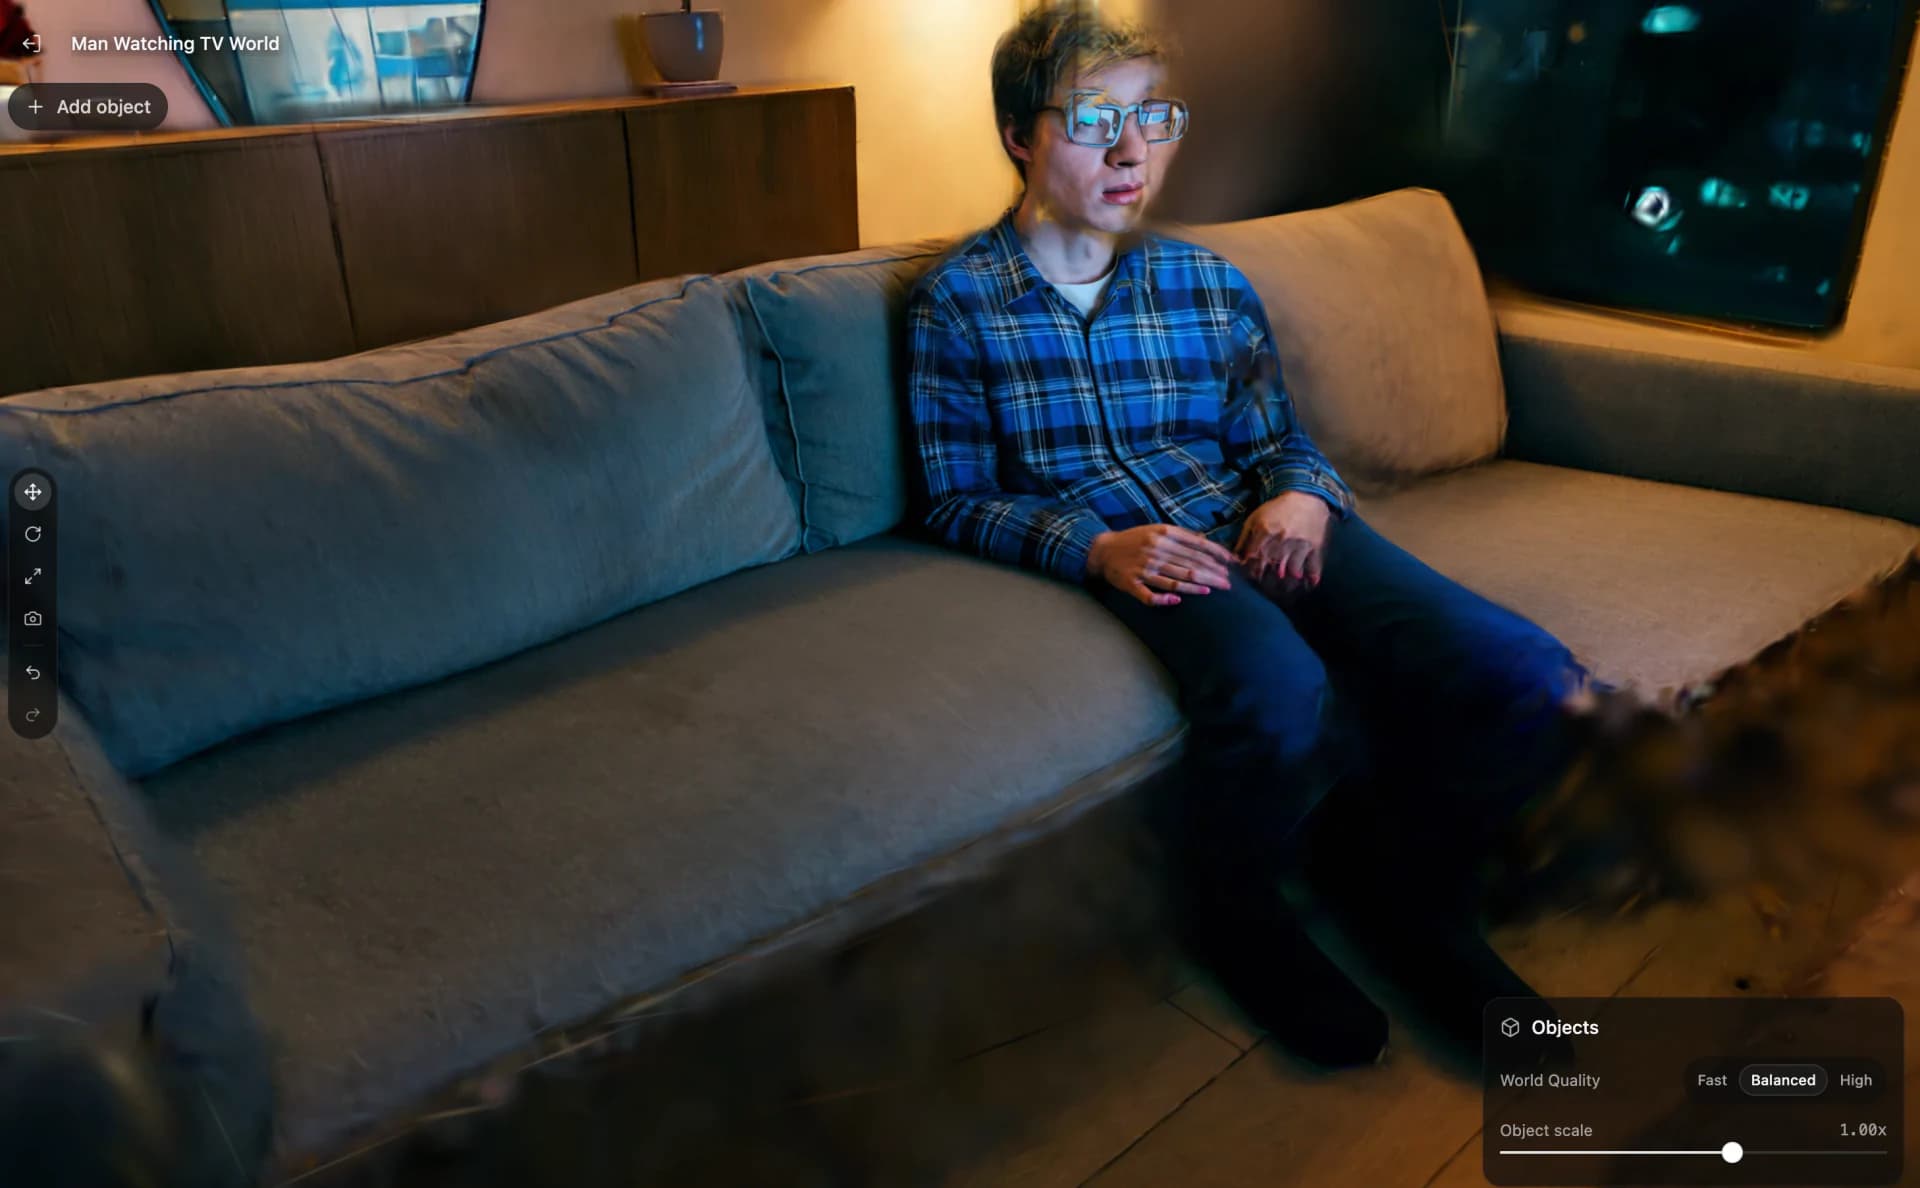
3D world shortcuts
3D scene editing depends on frequent mouse and keyboard actions. Select an object first, then move, rotate, scale, snap, multi-select, and undo or redo while placing it in space.
Recommended shortcuts
| Interaction | Action | Shortcut / mouse | Description |
|---|---|---|---|
| Scene navigation | Rotate view | Right-drag | Rotate around the scene center or selected object |
| Scene navigation | Pan view | Middle-drag, or W/A/S/D | Move the viewing plane horizontally or vertically |
| Scene navigation | Zoom | Mouse wheel | Move closer to or farther from the target, with dampening |
| Object operation | Move | G or click axis arrow | Show the XYZ translation handle with axis constraints |
| Object operation | Rotate | R | Show a rotation ring or rotate freely via shortcut |
| Object operation | Scale | S | Scale uniformly, or drag an axis box for non-uniform scaling |
| Object operation | Snap | Hold Ctrl | Snap the model to the ground or another model surface |
| Helper | Delete | Del or Backspace | Remove the selected model element |
| Helper | Multi-select | Shift + left-click | Select multiple models together for unified moves |
| Helper | Select all | Ctrl + A | Select all 3D elements on the canvas |
| Helper | Undo / redo | Ctrl + Z / Ctrl + Y | High-frequency actions when placing 3D elements |
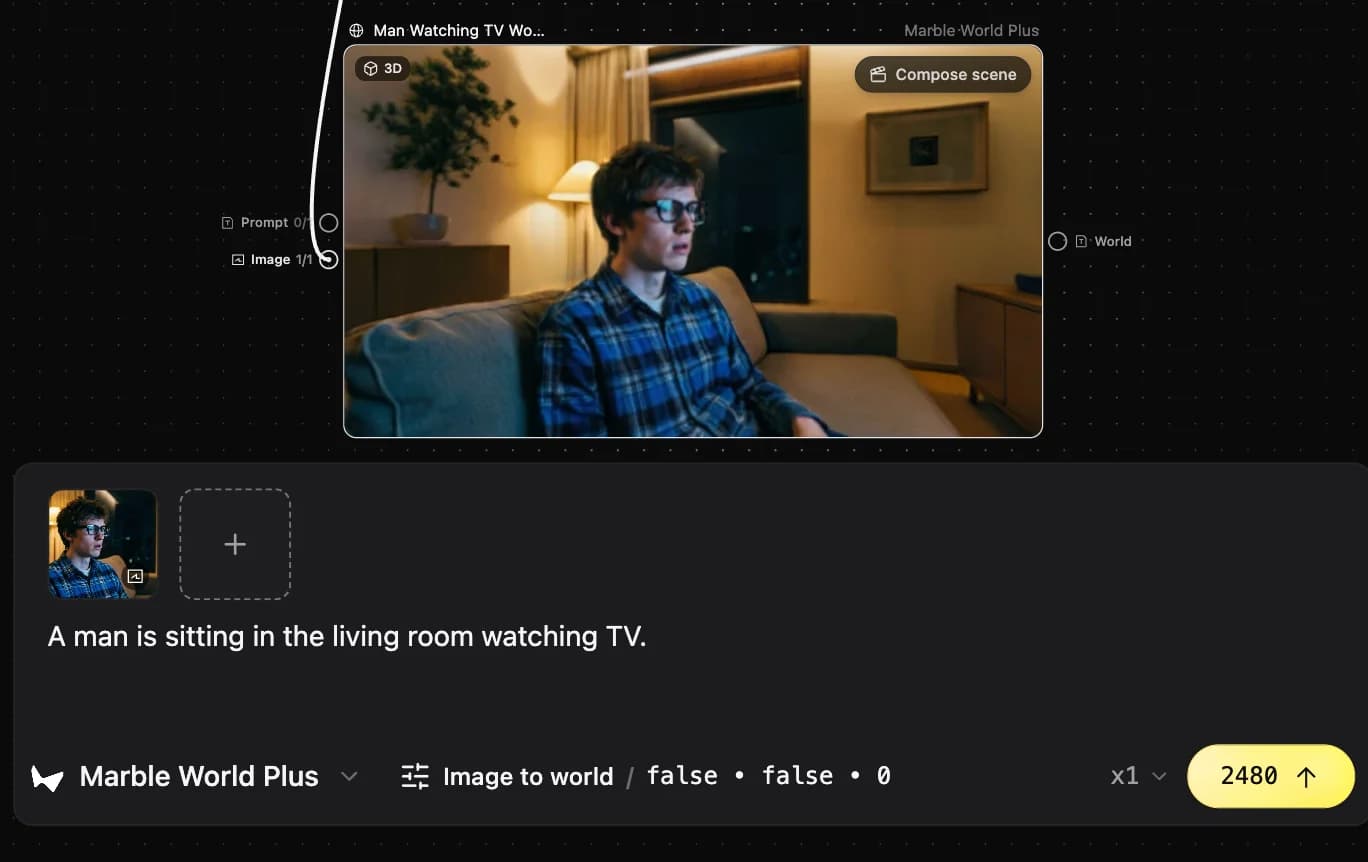
Build workflows
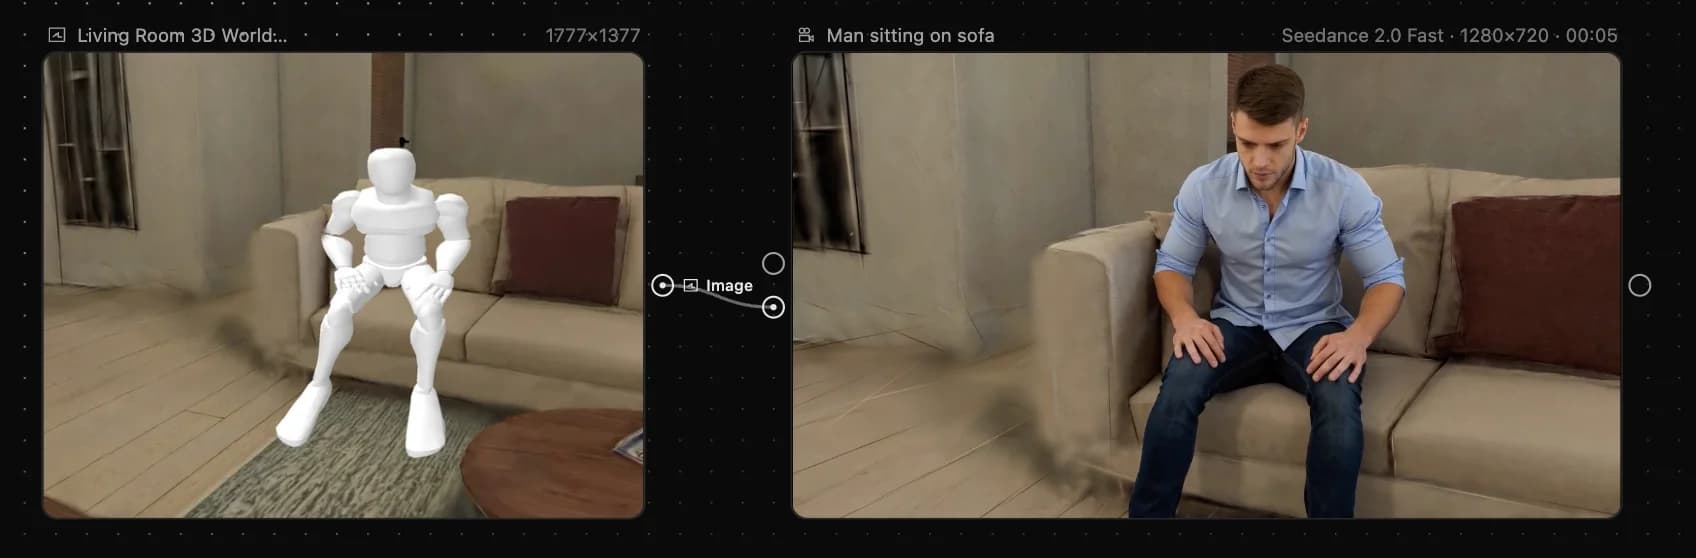
Build flexible workflows by linking text, image, video, audio, and 3D world nodes. With 3D scenes in the mix, traditional image and video workflows gain more stable control over characters, props, and spatial relationships.
Workflow comparison
| Workflow | Core steps |
|---|---|
| Traditional image workflow | Create an image node, describe the requirement, and generate an image. |
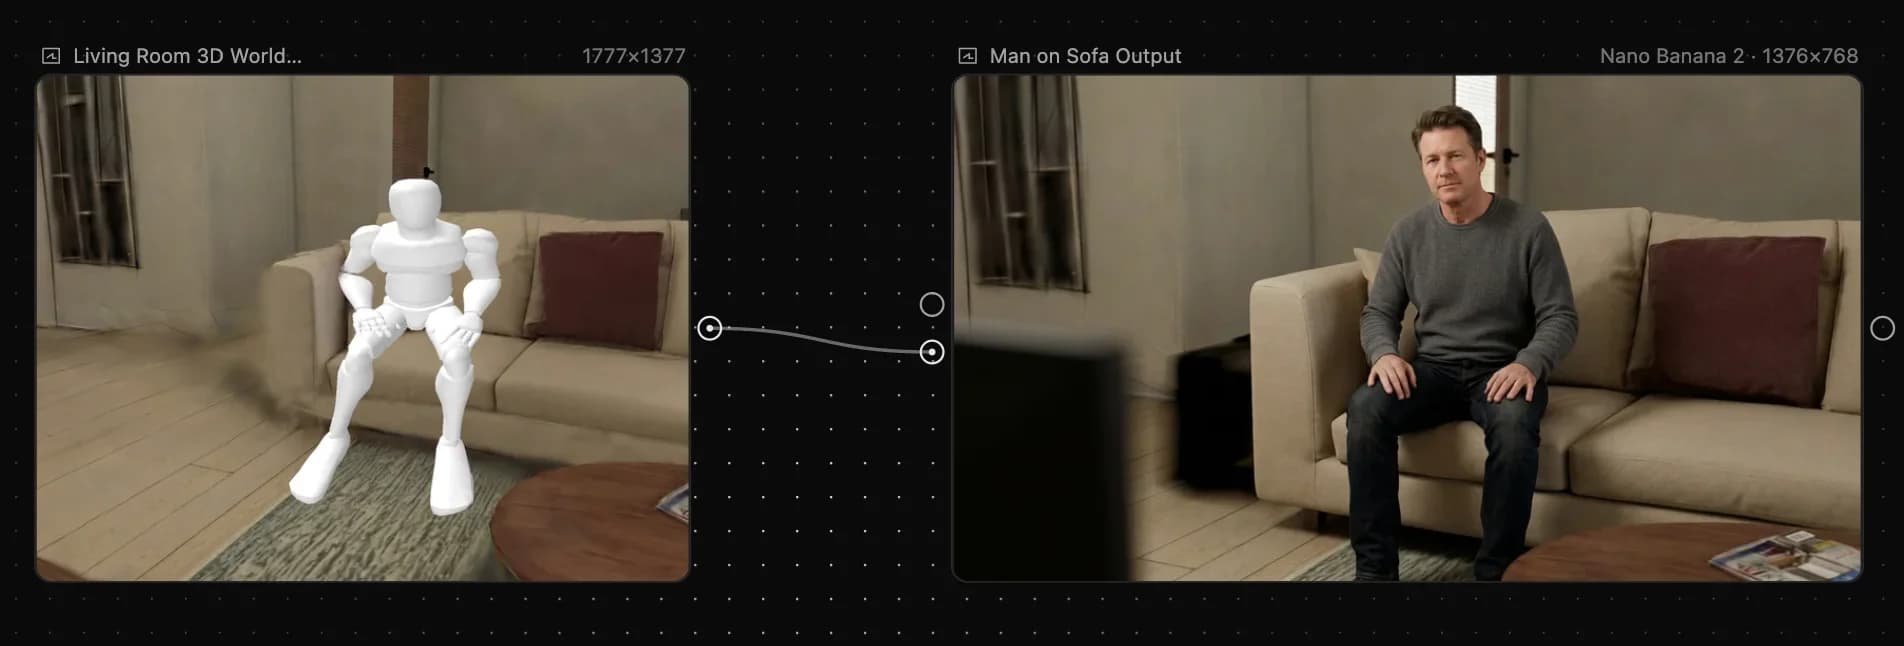
| New image workflow — precise control | Create an image node, generate an auxiliary view from a 3D world, connect the view, describe the requirement, and generate. |
| Traditional video workflow | Generate a script in a text node, an image in an image node, then connect both to a video node for the final video. |
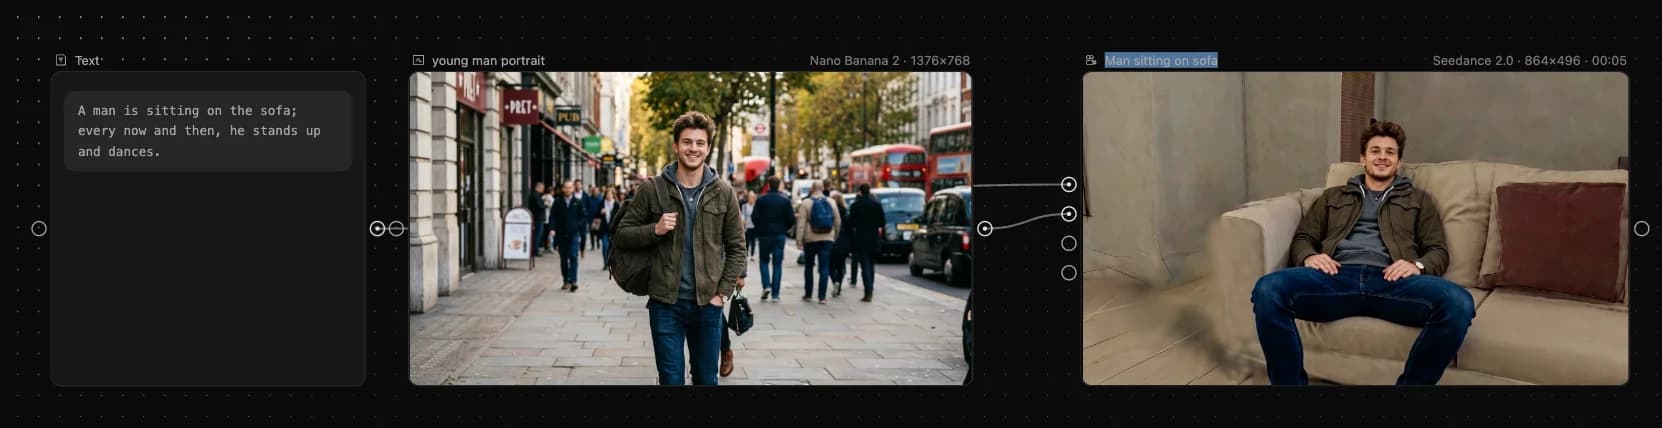
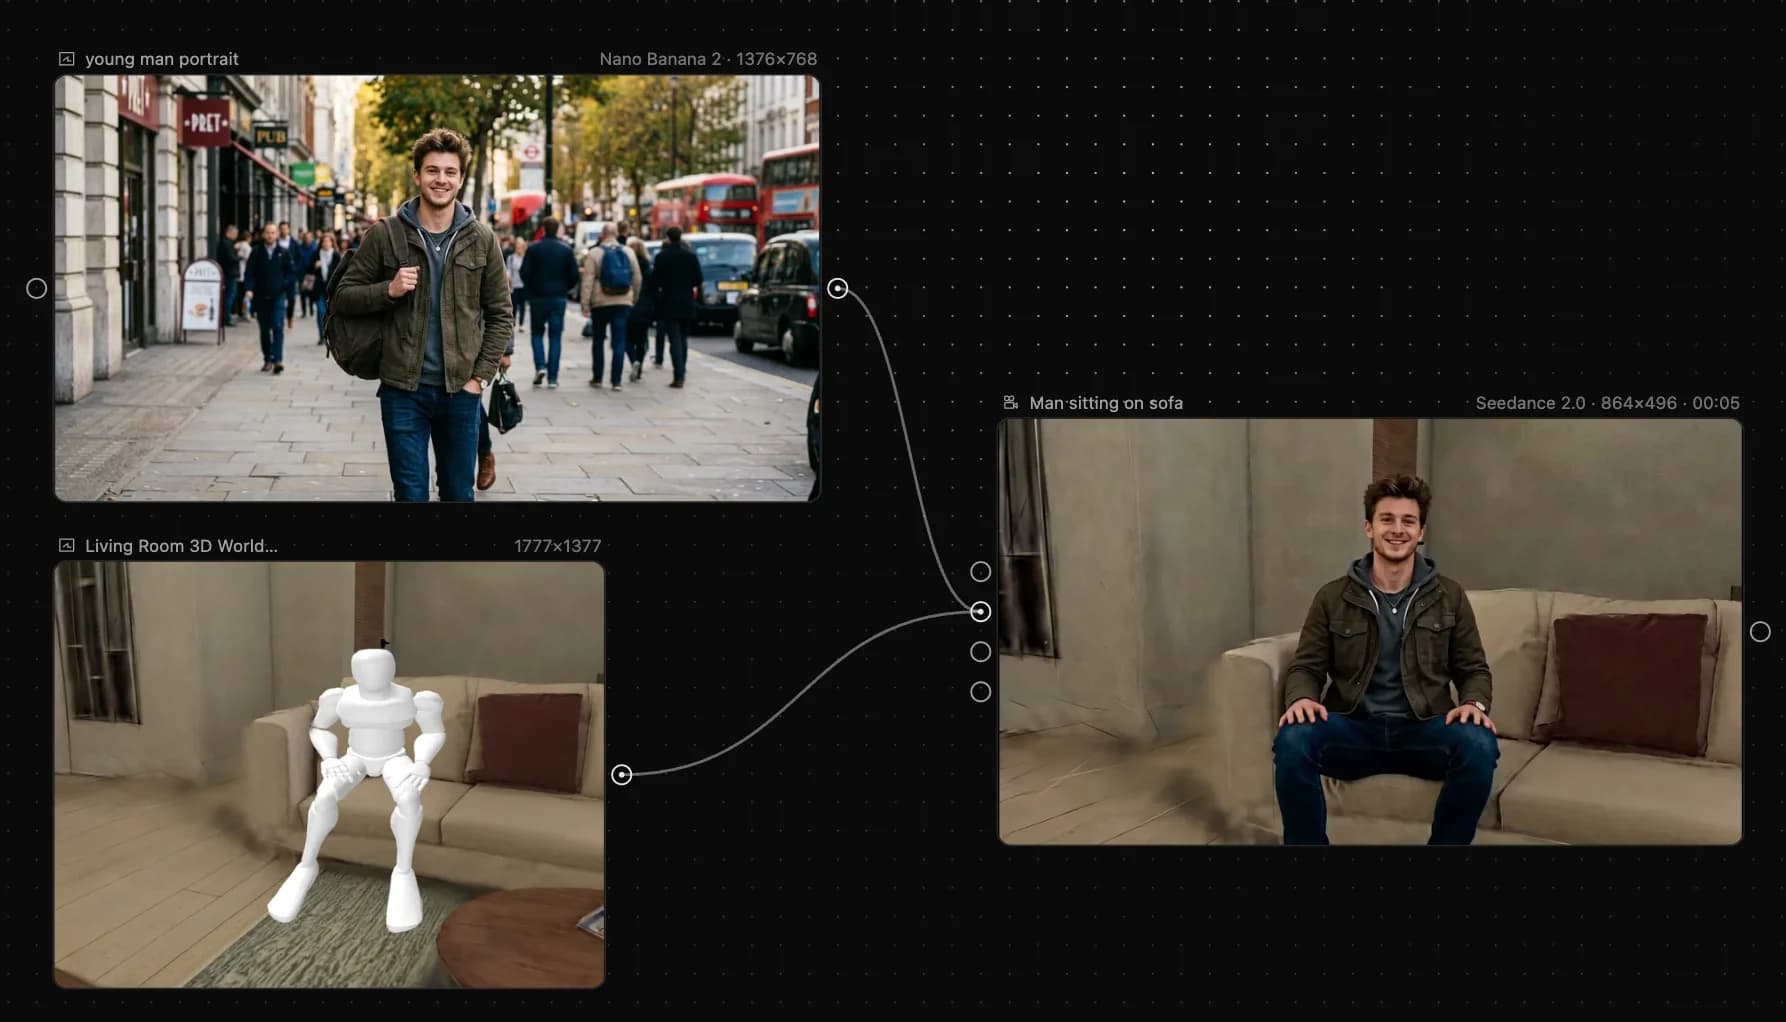
| New video workflow — precise characters and scenes | Generate a script, create prop images, build a 3D auxiliary view, replace image content inside the 3D world, then connect the replaced image and text to a video node. |
| Advanced video workflow — aggressive version | Generate a script, create a 3D auxiliary view, then connect the view and text to a video node — quality will keep improving as models advance. |
Workflow examples
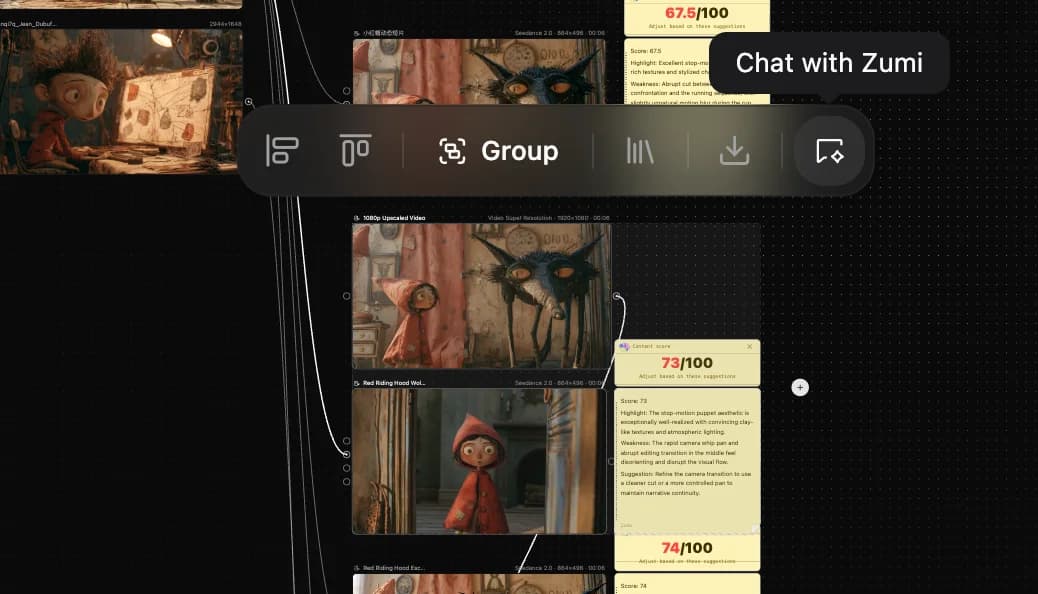
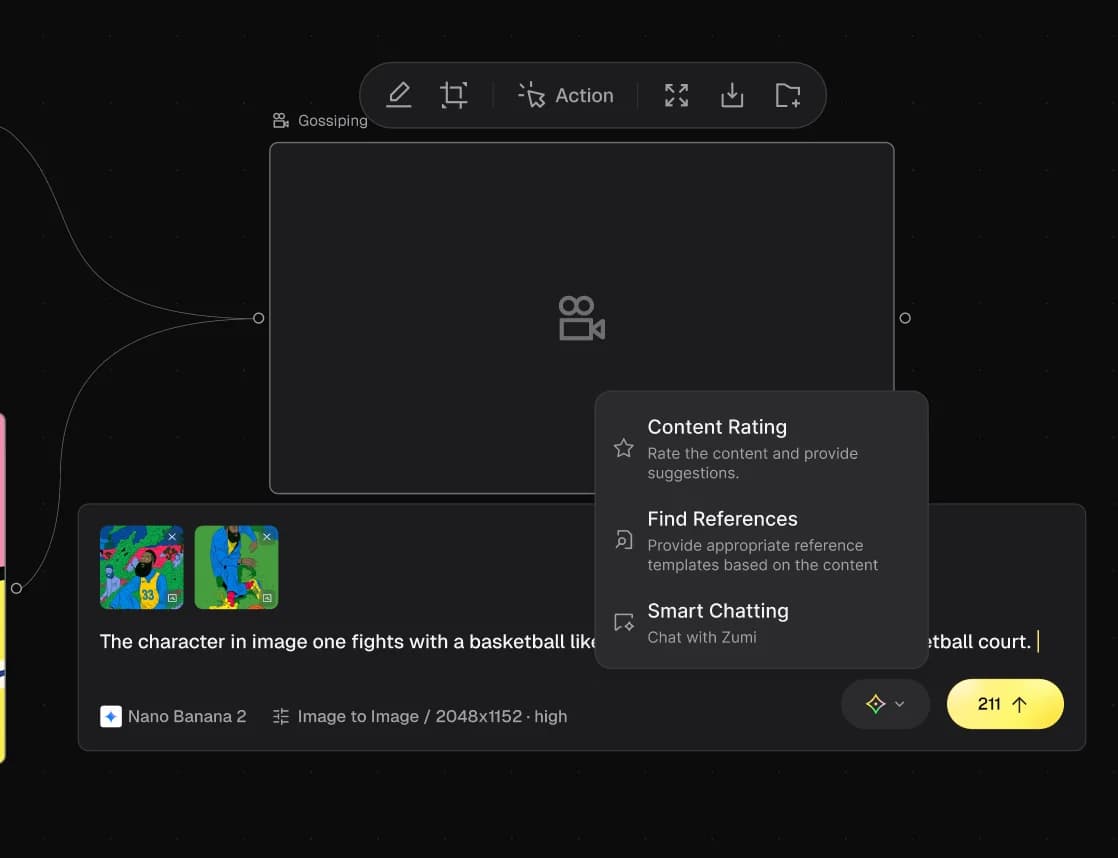
Proactive Agent: Zumi
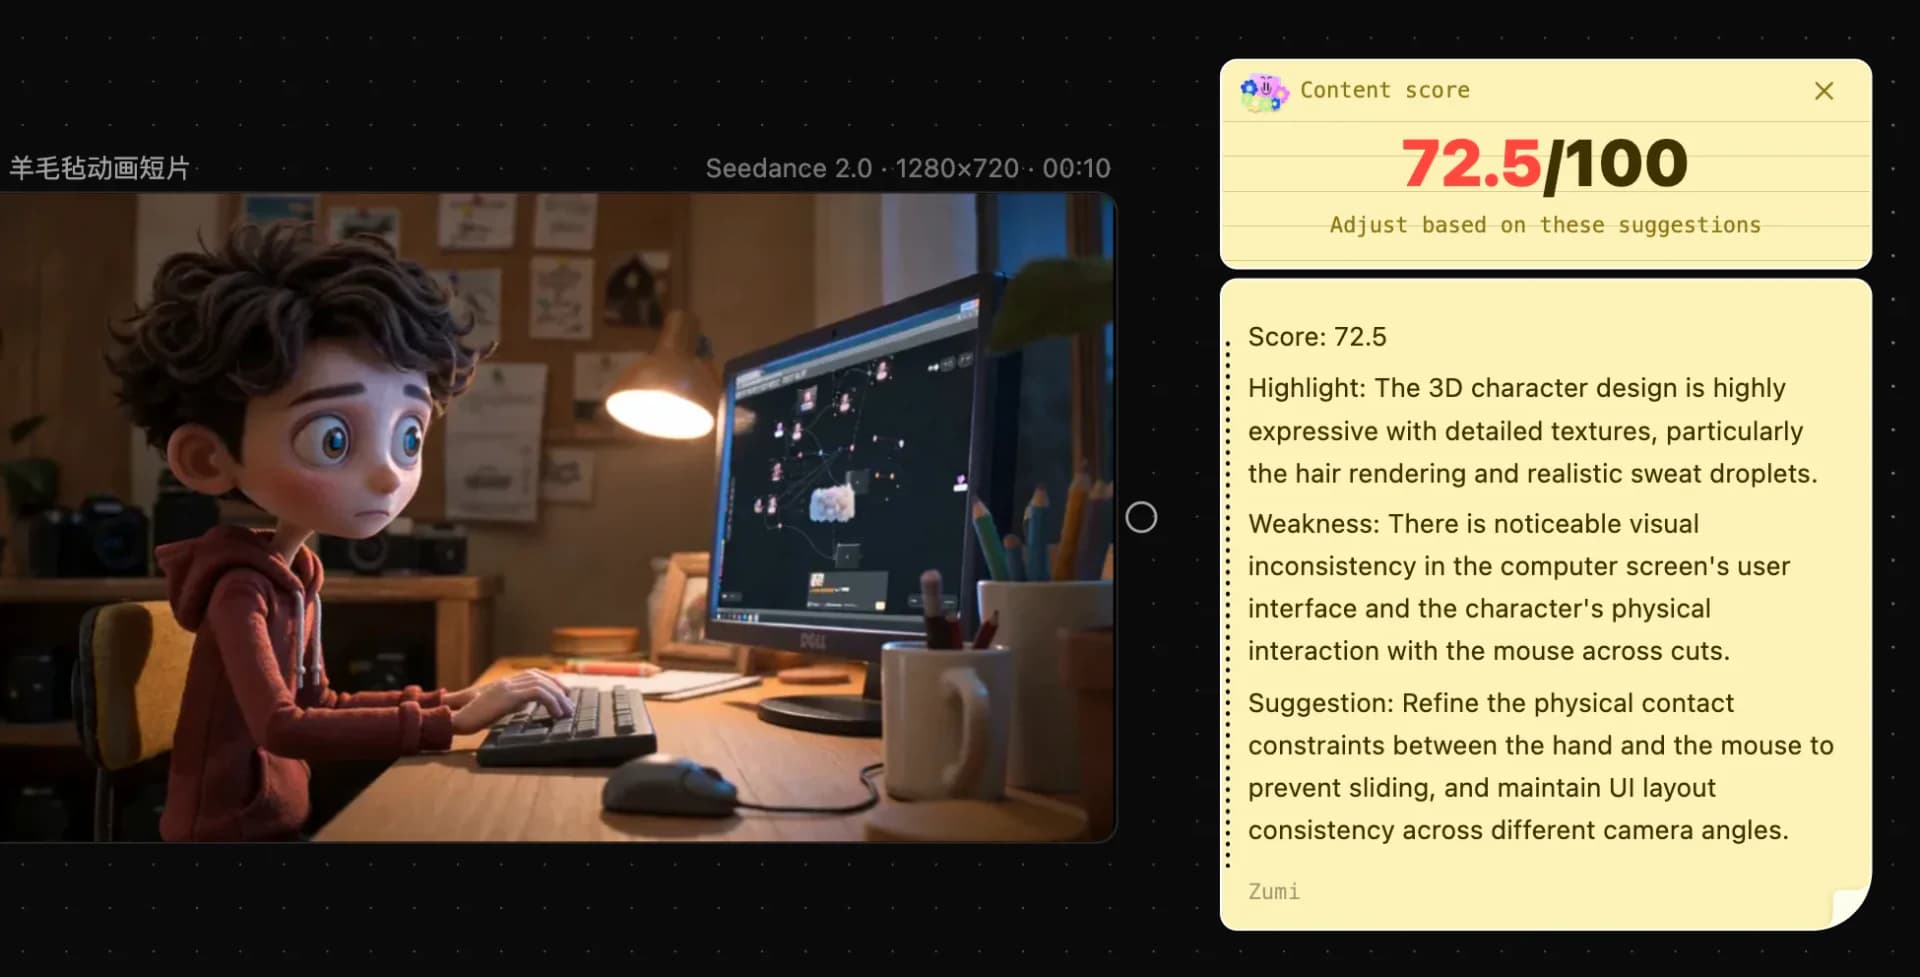
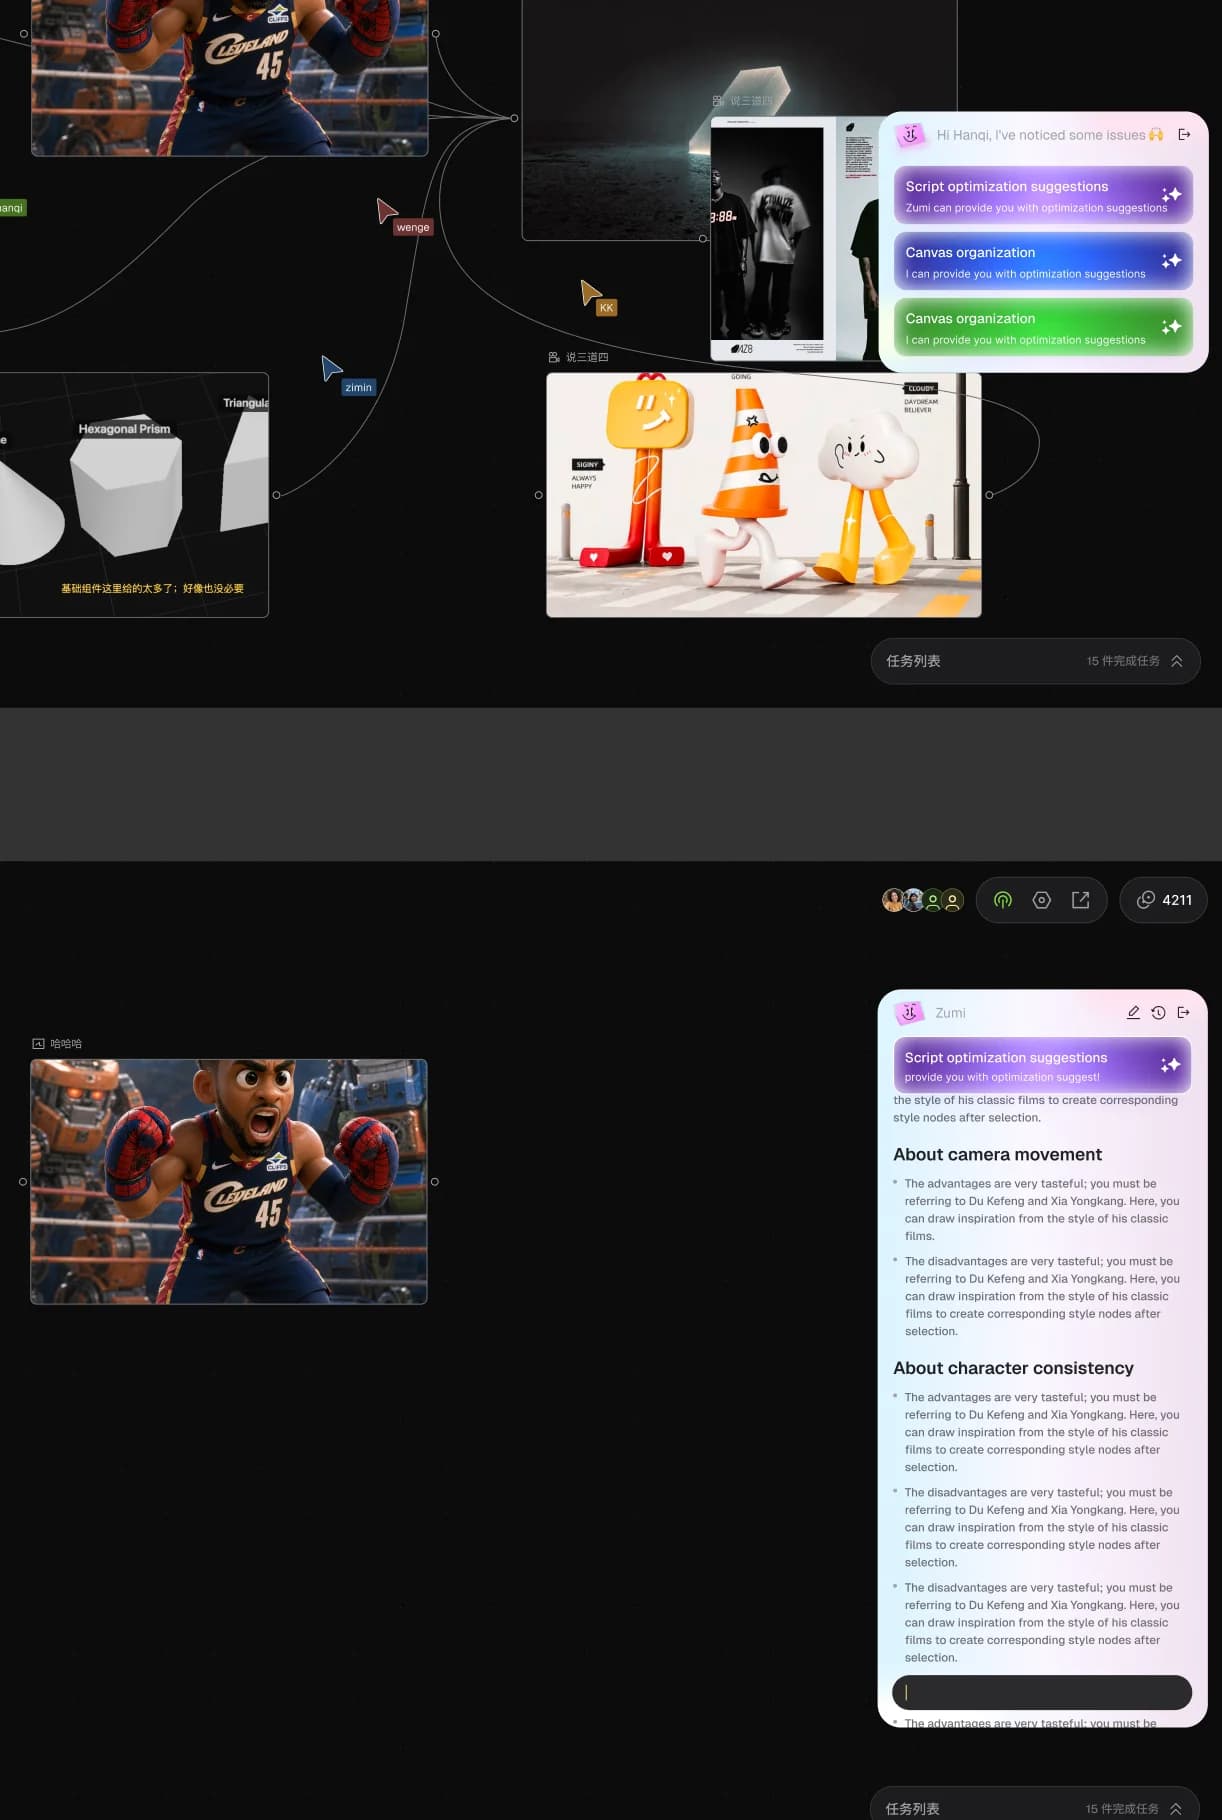
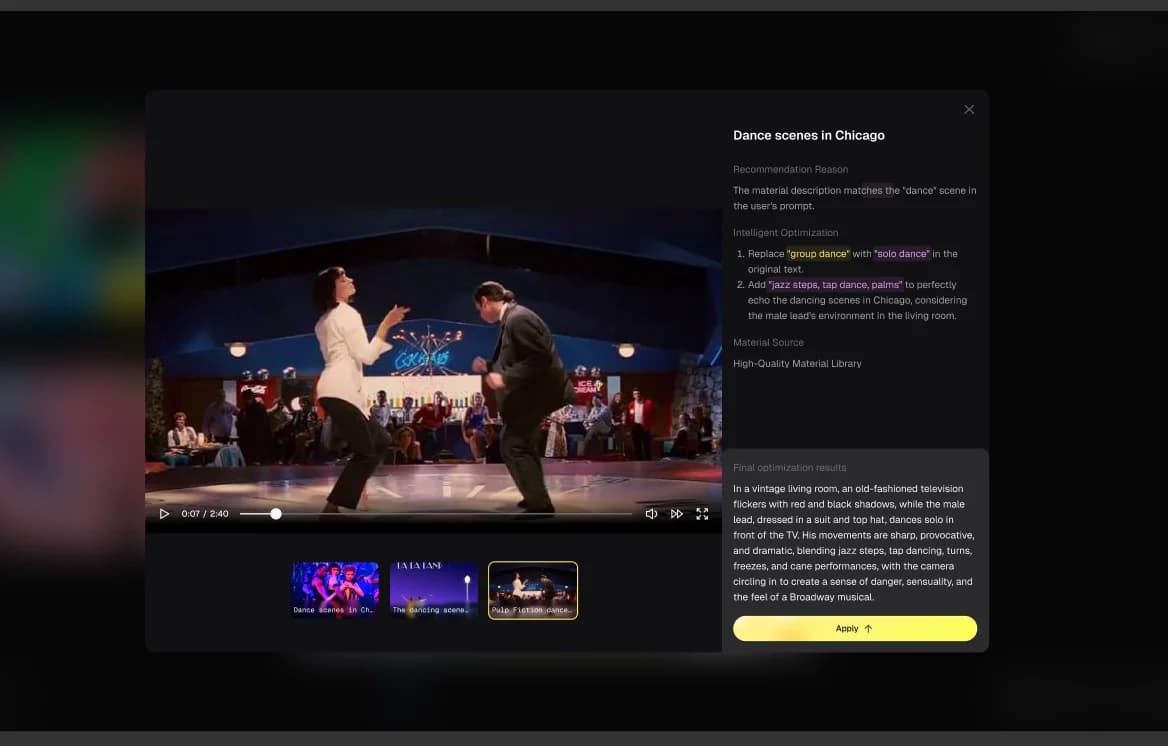
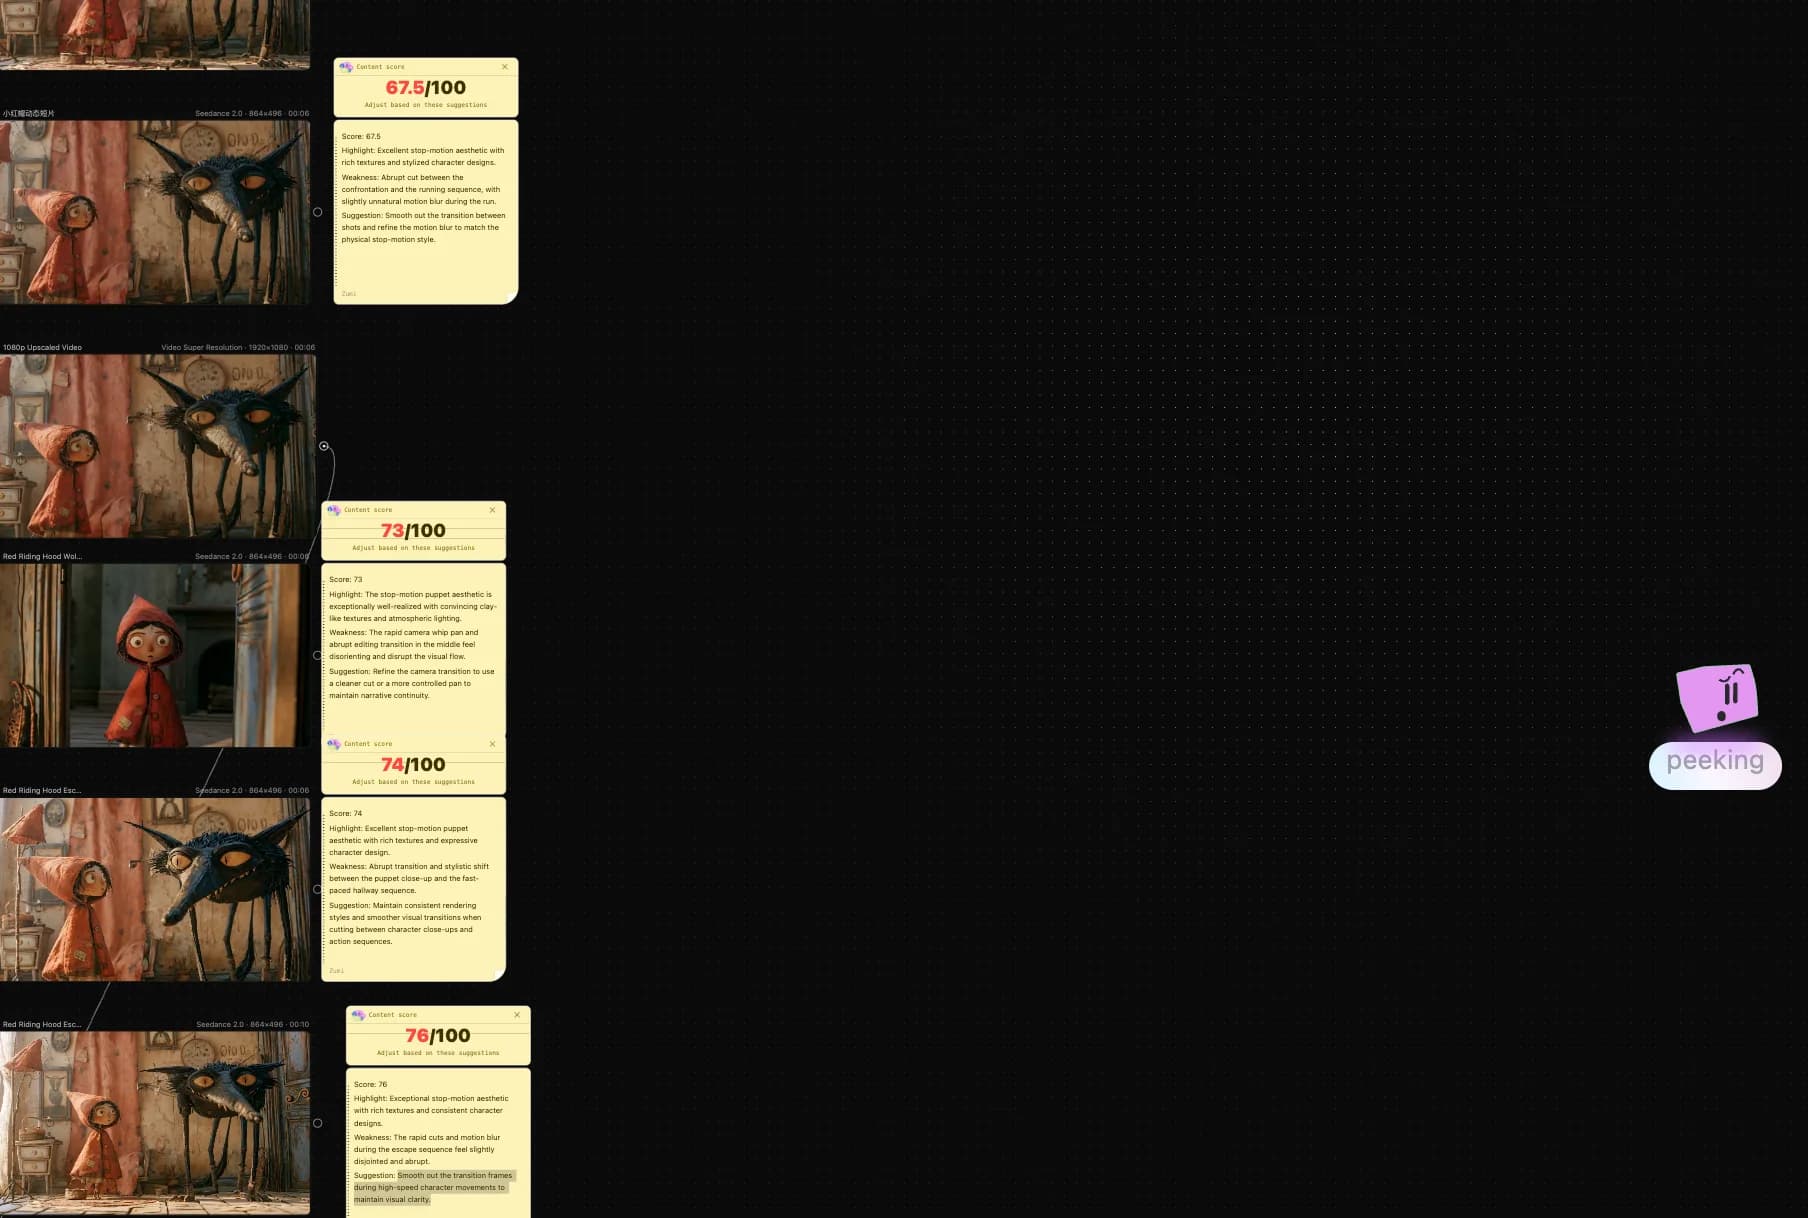
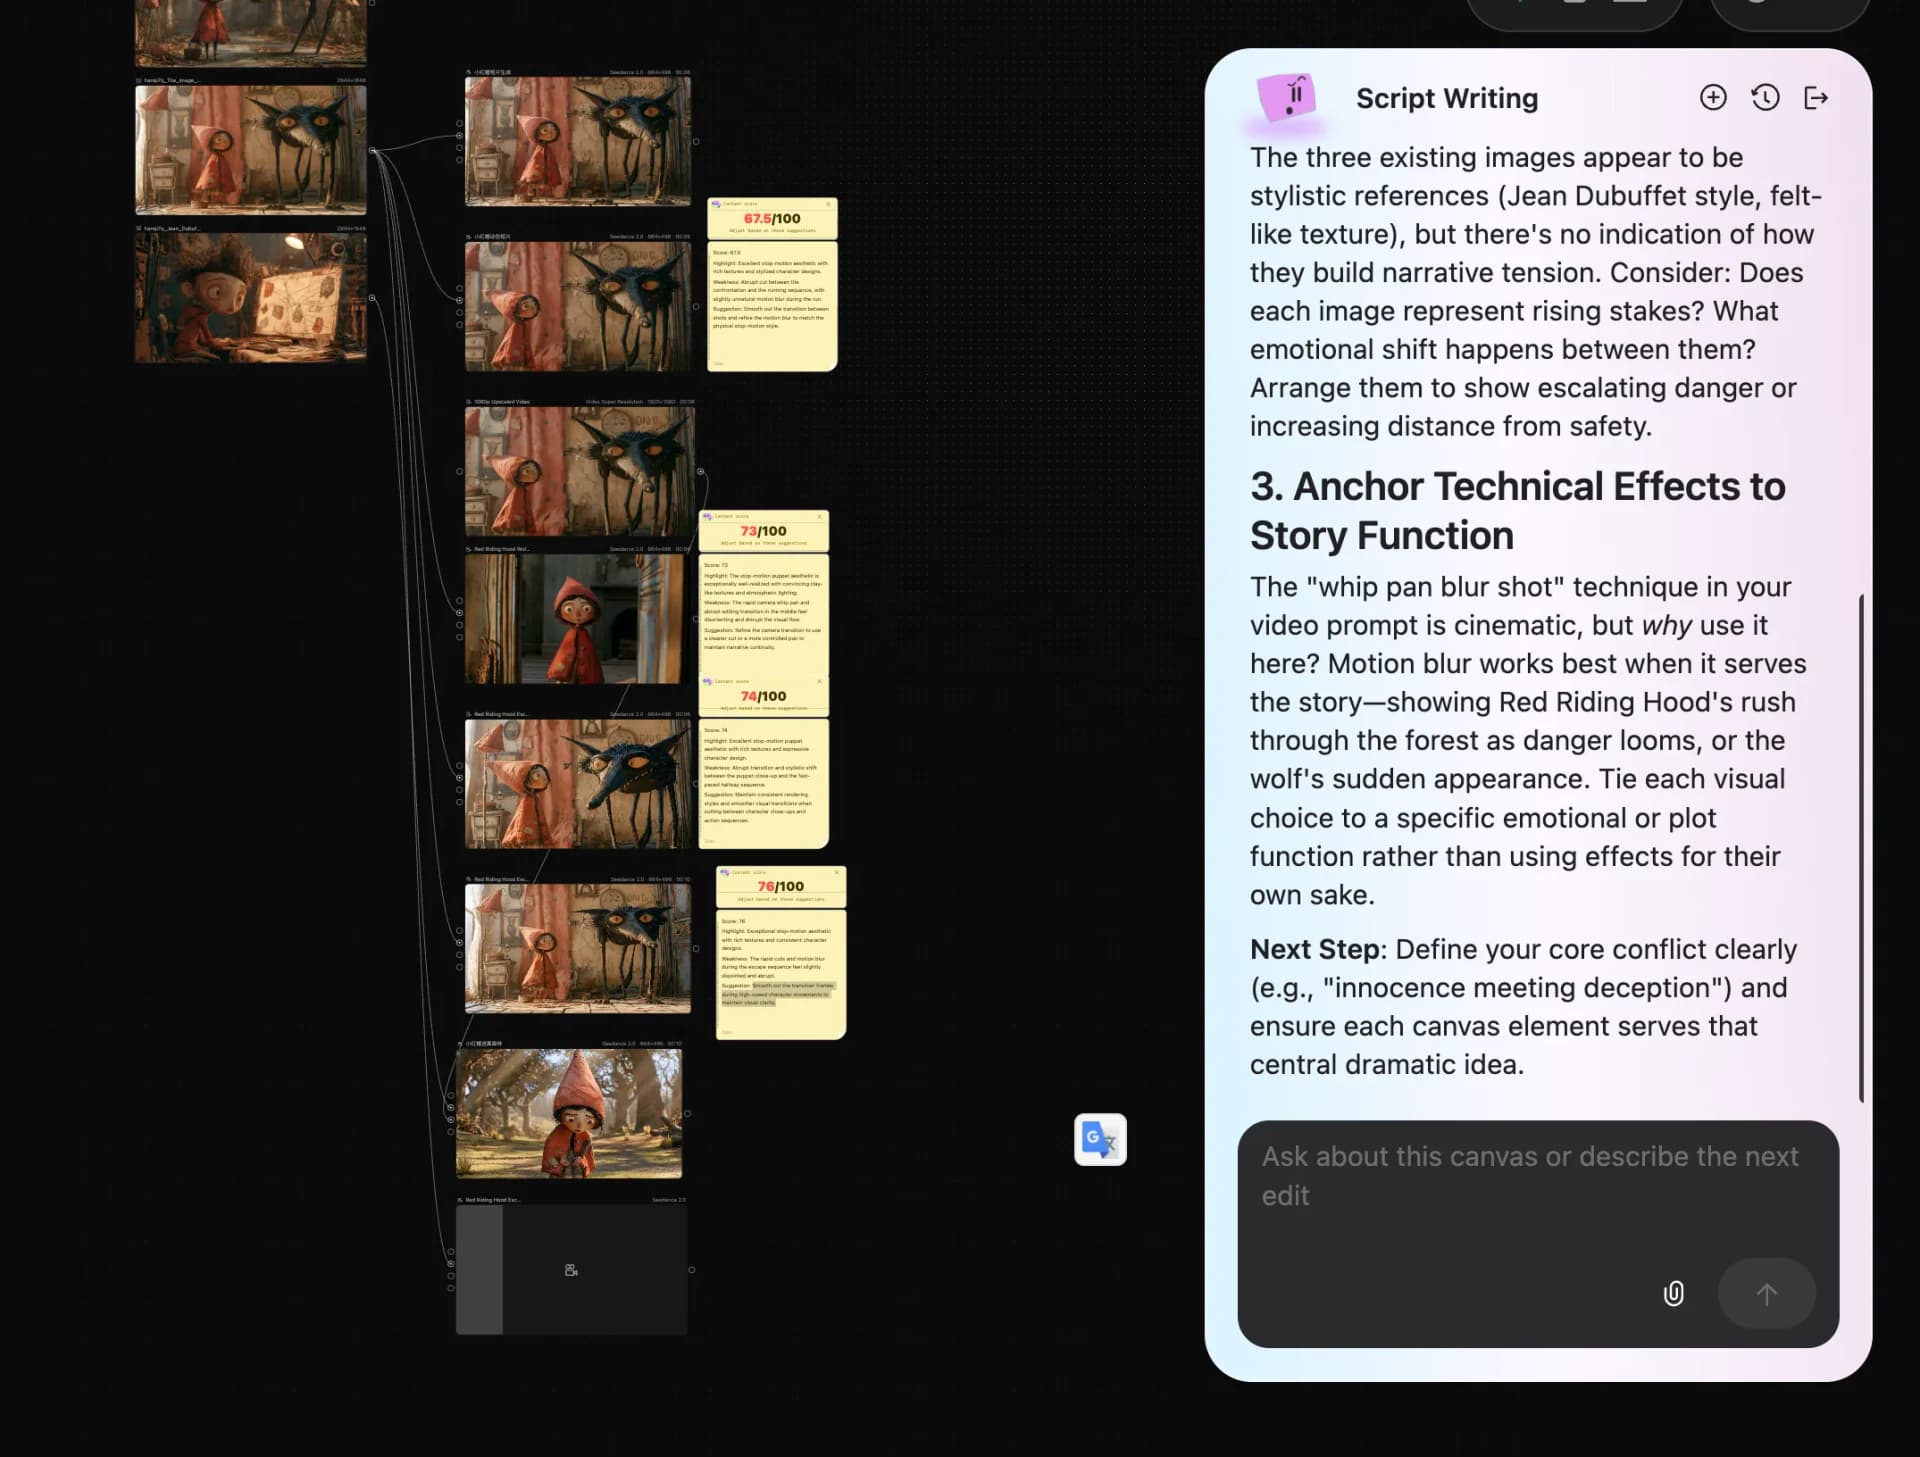
Unlike most agents, Zumi proactively spots problems on your canvas. It can score video nodes, suggest changes for the whole canvas, optimize prompts, and also run multi-turn conversations on demand.
Automatic triggers
- Every generated video node automatically receives a Zumi score with highlights, weaknesses, and suggestions.
- When the canvas reaches exactly 5 or 20 nodes, Zumi gives canvas-level advice (it stops triggering past 20).
- When the input box stays focused for more than 10 seconds, or repeated prompt edits are detected, Zumi pushes prompt suggestions.
Manual entry points
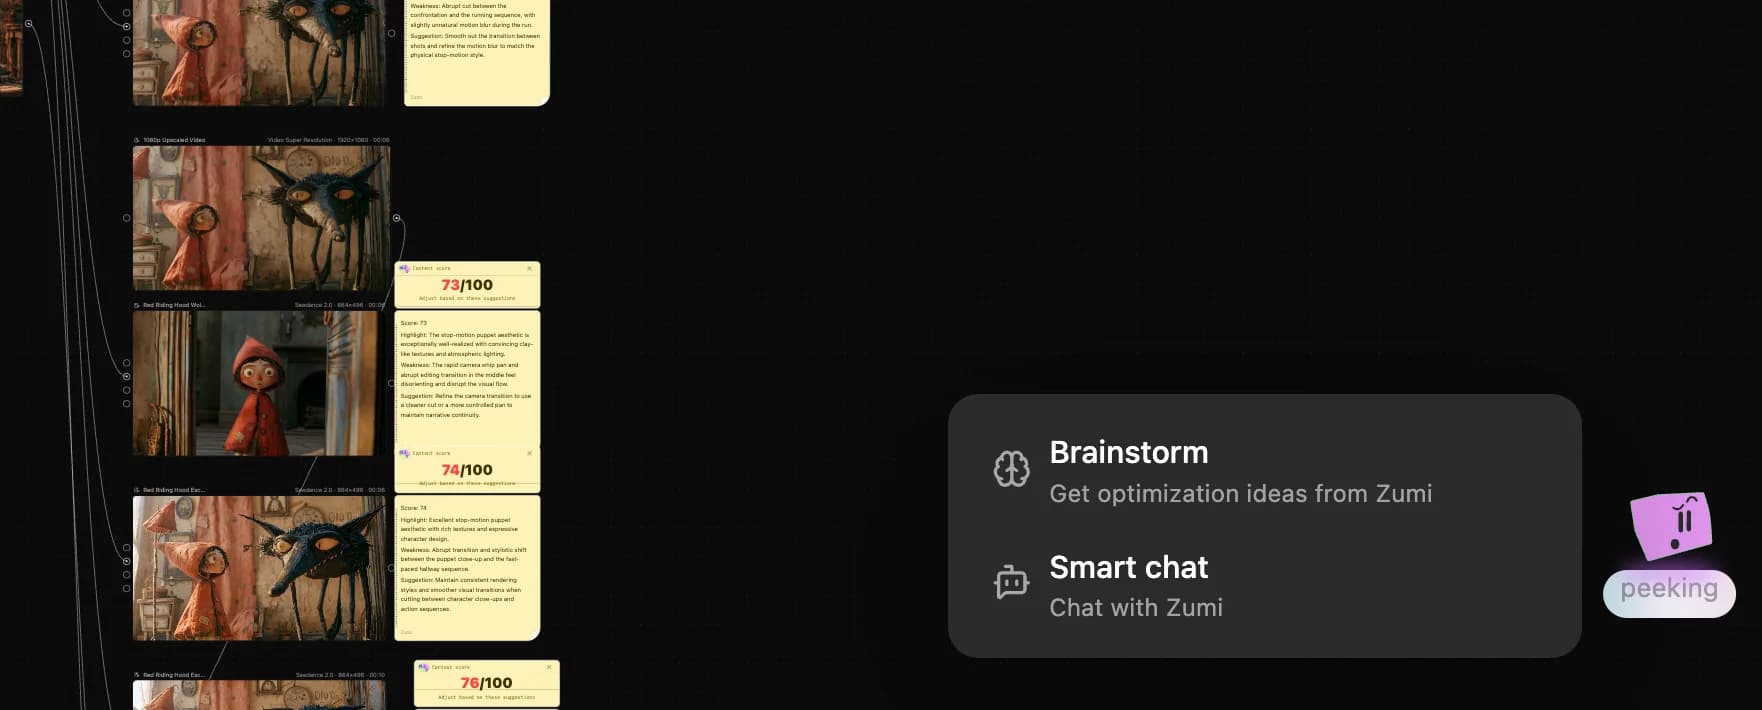
- Click or right-click the Zumi icon in the sidebar to open the conversation.
- Box-select canvas content and send it to Zumi for a multi-turn discussion.
- Click the Zumi entry inside a node's input box to pick the AI action you want (scoring, prompt suggestions, node chat).
Zumi proactive help
Manually invoke Zumi
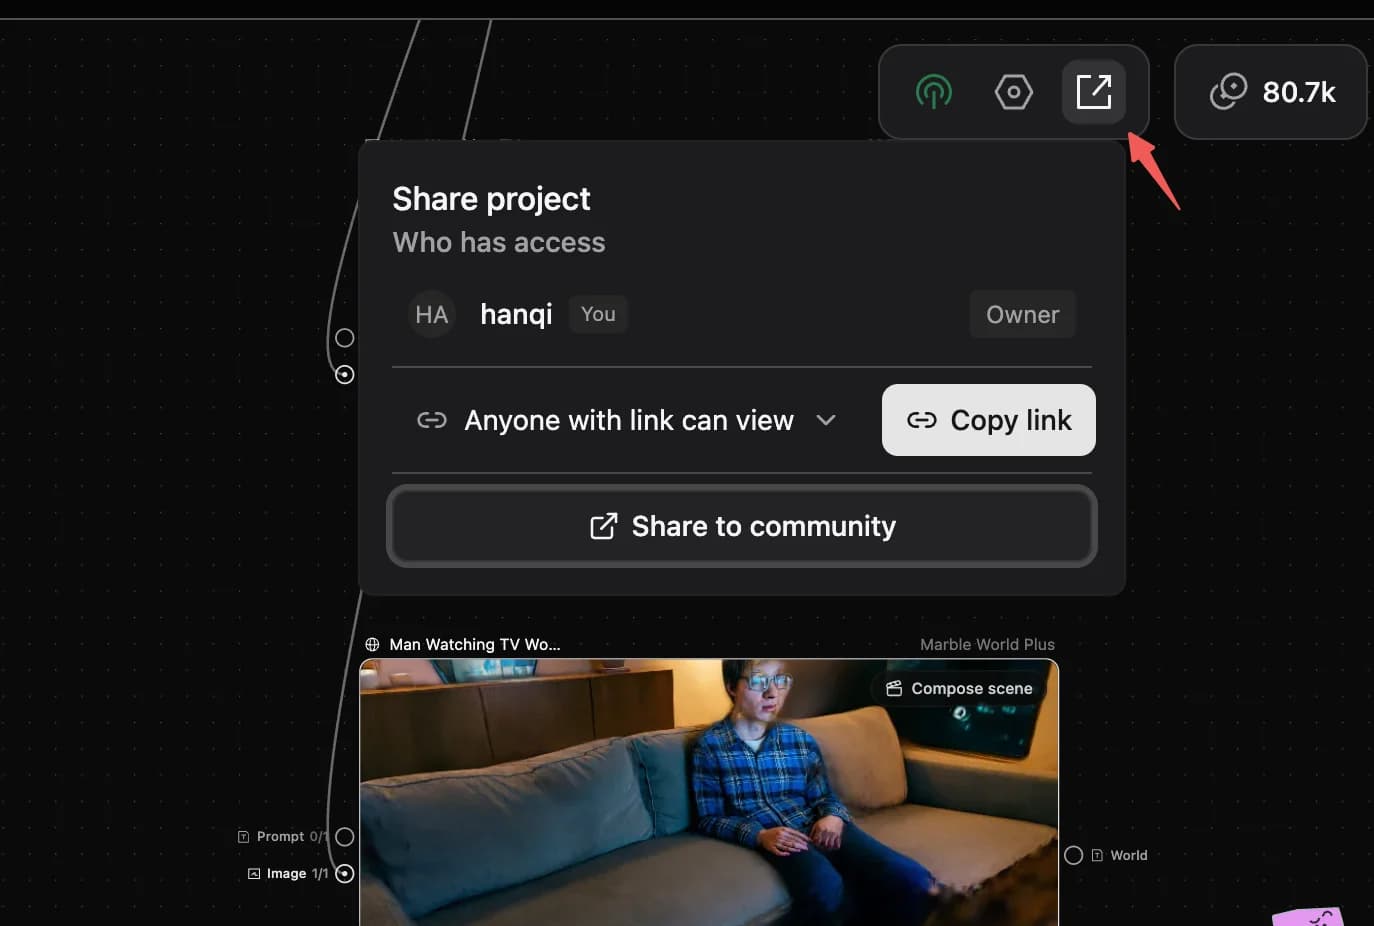
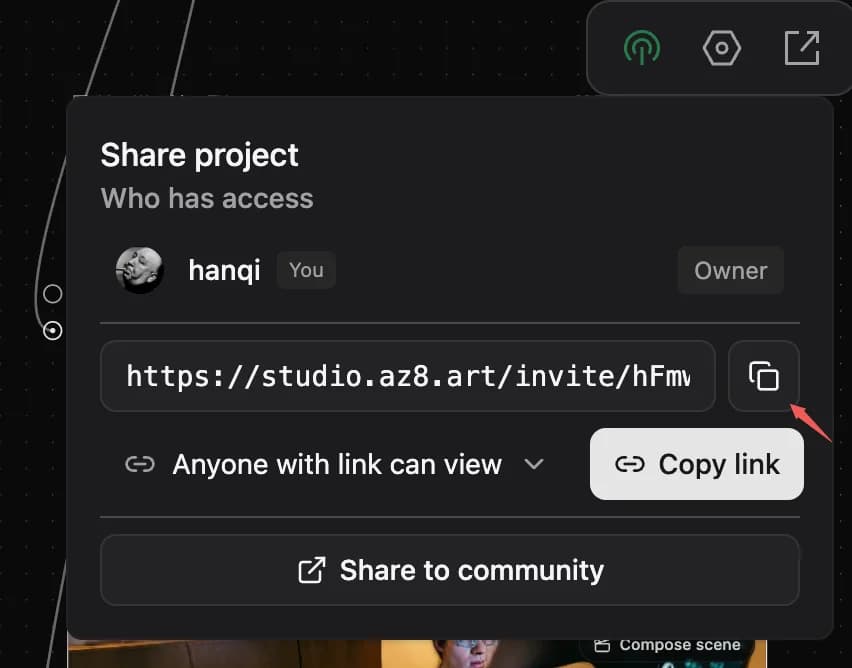
Collaboration
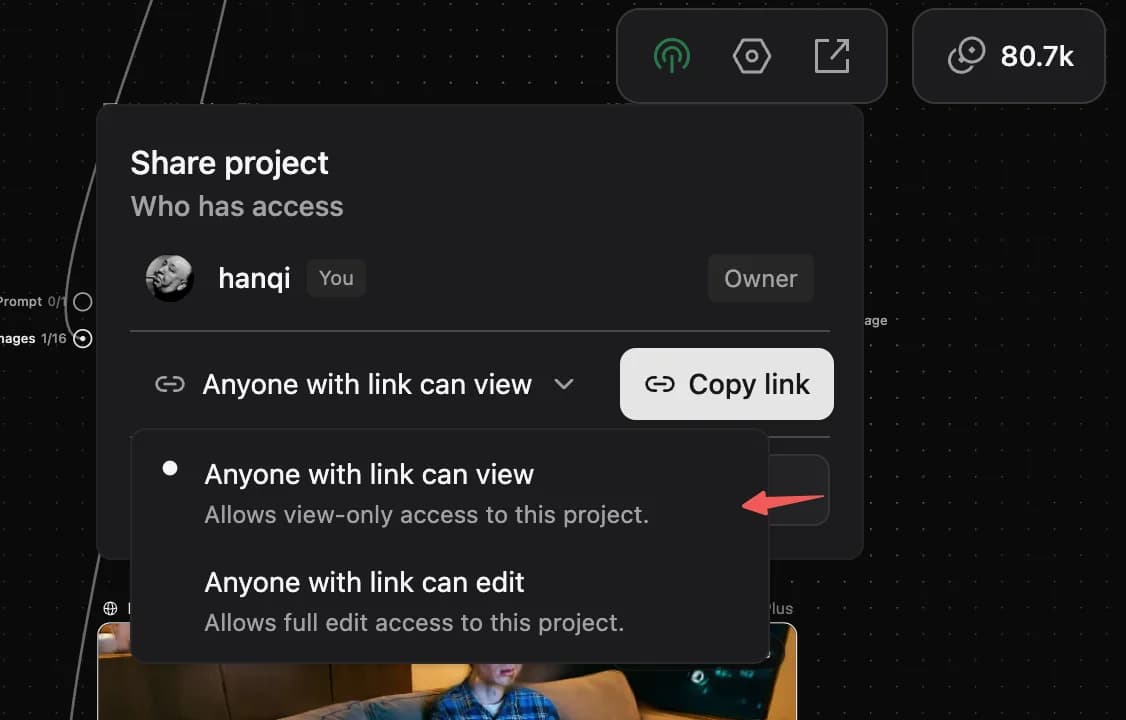
AZ8 supports real-time collaboration. Share links can grant View or Edit access. View mode costs no credits; Edit mode uses each participant's own credits. Team credits, team assets, and more management features are coming.
Step-by-step
- Click the share icon (∞) in the upper-right to open the collaboration panel.
- Choose View or Edit in the link permission dropdown.
- Click Create Link, then copy and share the generated link with teammates.
Permission notes
- Once the permission is set, anyone with the link gets that access. Don't casually send Edit links to outsiders.
- After teammates join, you can adjust or revoke their permissions from the collaborator list at any time.
- The project creator is the Owner by default with top-level permission that no one else can change.
Collaboration flow
Community and profile
The AZ8 Community is a place to browse, publish, and interact with AI creative work — videos and image-text posts — and to grow a personal portfolio. Video crowdfunding and more interaction are on the roadmap. Today, image-text posts appear on the personal profile only; community streams focus on videos.
Browse the community
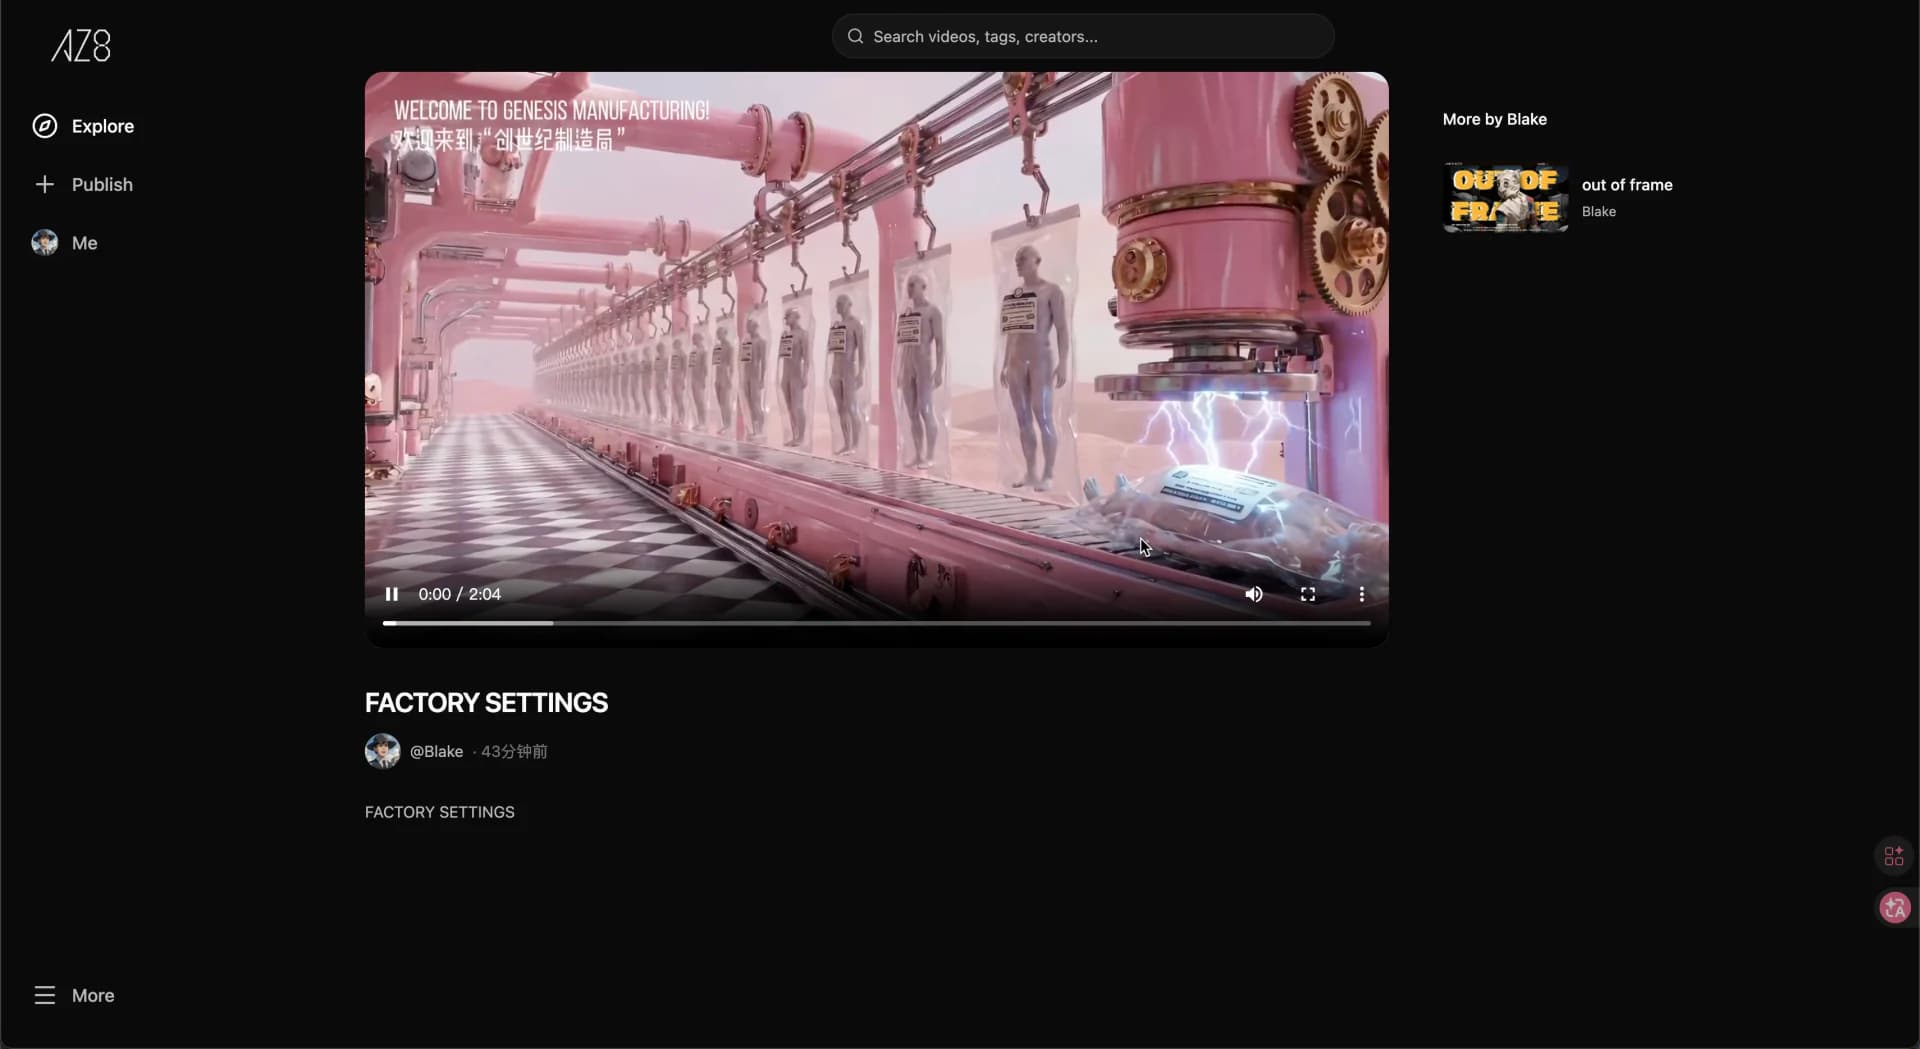
- Open the community to land on Explore, where popular and recent AI works are surfaced.
- The top search bar supports keyword, tag, and creator-name searches.
- Tap a card to open the detail page — play the video, see creator info. Likes and comments are coming next.
Publish work
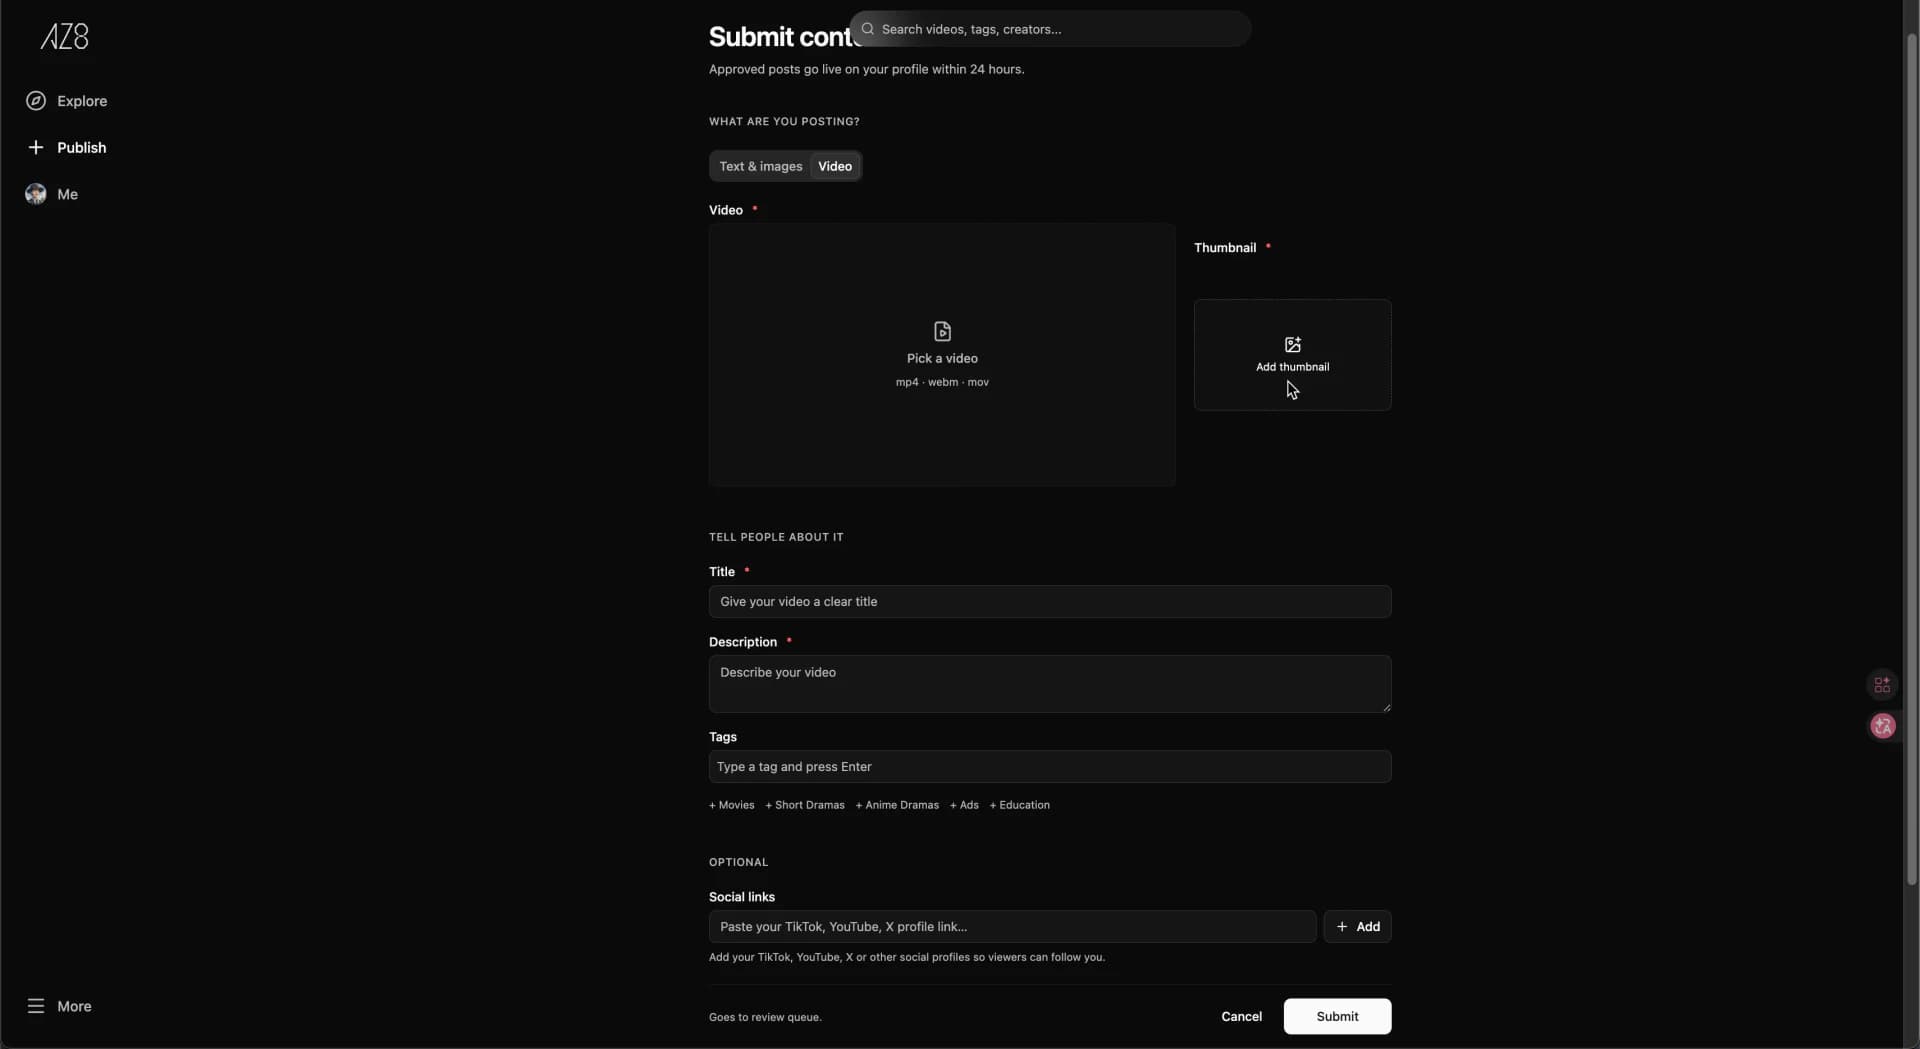
- Publish video: from the left nav, choose Publish → Video, upload your file (mp4/webm/mov) and thumbnail, fill in title/description/tags, then submit. It goes live within 24 hours after approval.
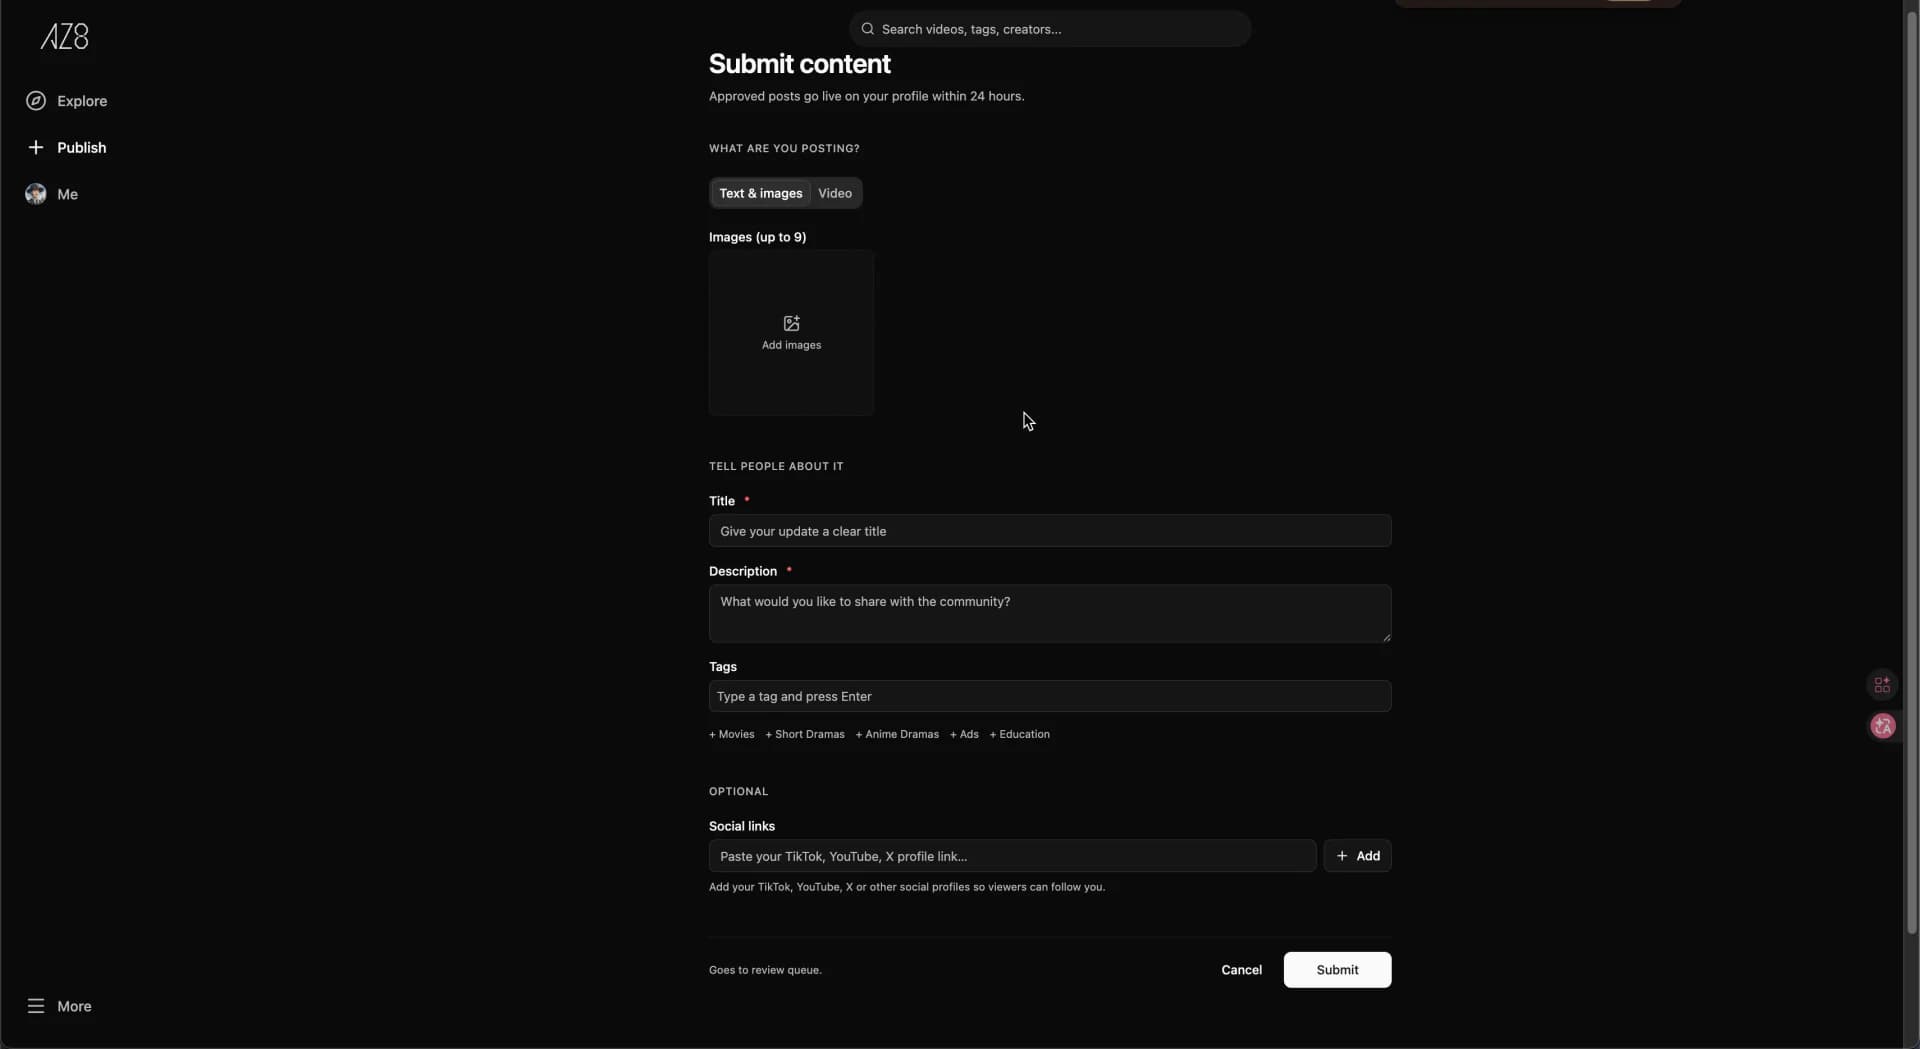
- Publish image-text: choose Text & images, upload up to 9 images, fill in title/description/tags, then submit. Image-text posts currently appear only on the profile feed; the community stream shows videos.
- Optionally add social links so audiences can follow you elsewhere.
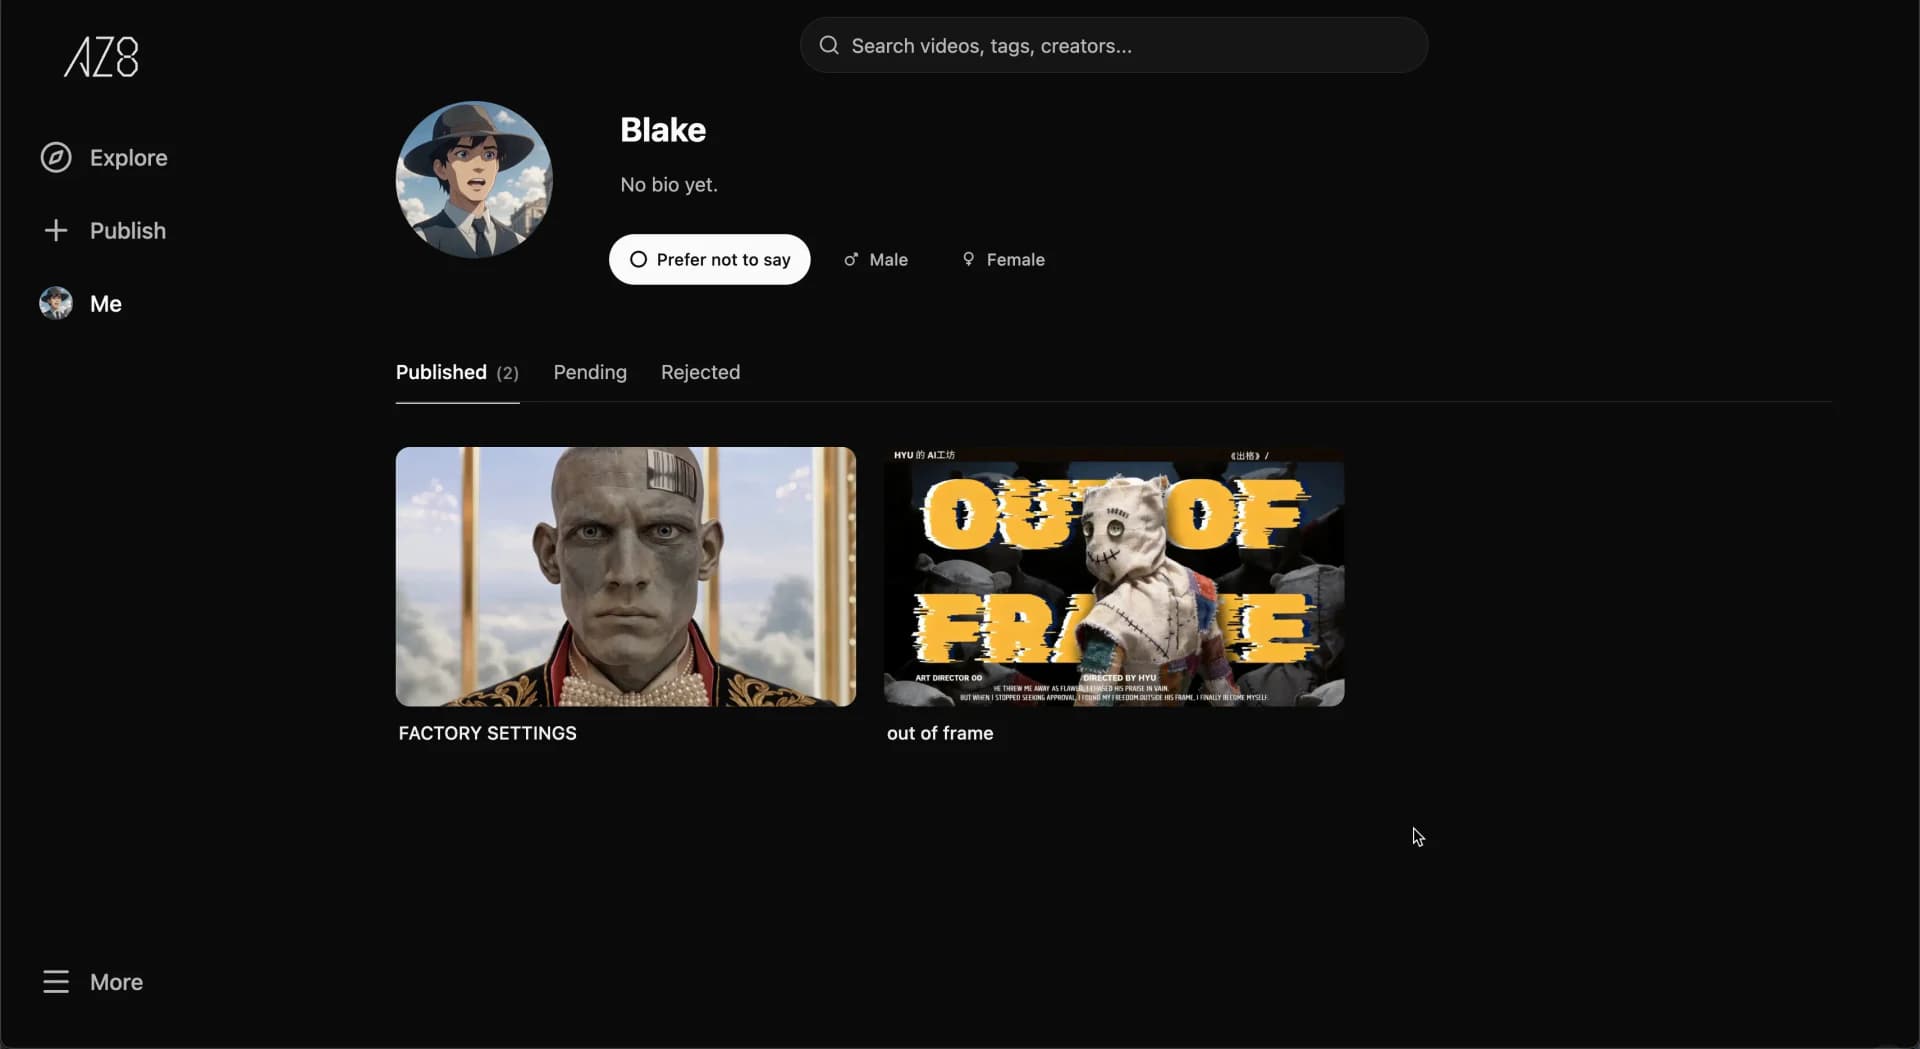
Personal profile
- Click Me in the left nav to open your profile, where you can edit avatar, nickname, gender, and bio.
- Three tabs — Published, Pending, Rejected — make it easy to manage every work.
Community pages